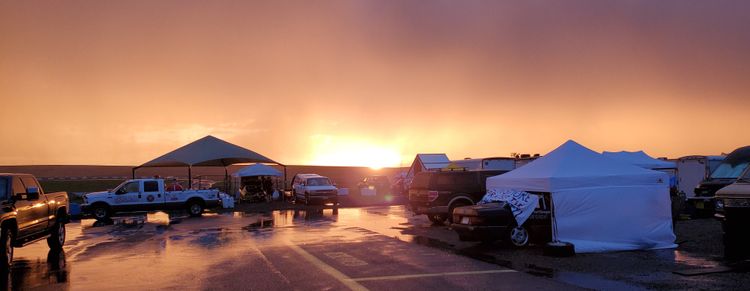
The final countdown
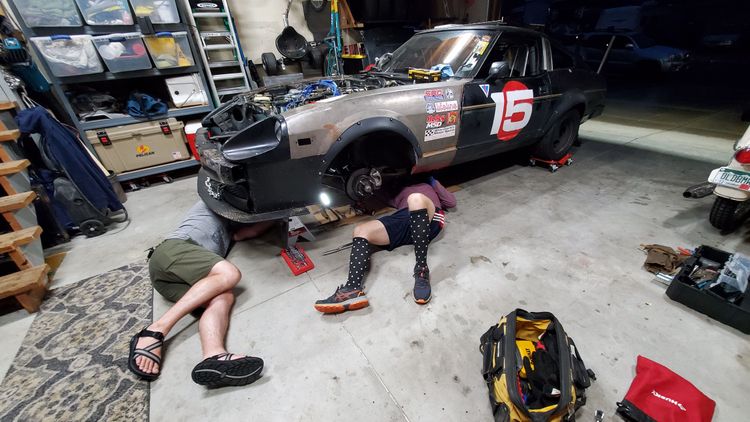
Well here we are in the home stretch, 9 days left, and a short but significant list of actions remaining. At time of writing, the car still will not pass tech. That's worrying, of course, but we are definitely(hopefully) going to be ok. This post is a look back over our last two work nights. We continue to make great progress, but it's funny how little things often end up taking longer than you think.
The focus from here to race day is completing all of our required-to-pass-tech-inspection tasks. Some of the work involves doing other things that we want (mounting a kill-switch? May as well remount those gauges too!), but all of it is deemed critical before we show up at the track. Let's get into the list!
-
Install hood pins.(in-progress)
Lemons regulations or not, we want hood pins on a race car. The OE hardware in our 42 year old Datsun was damaged in a collision, and would not be up to the task. Why install hood pins? Well, imagine what fun you could have if you're blasting down a straight and your hood pops off! Install hood pins.
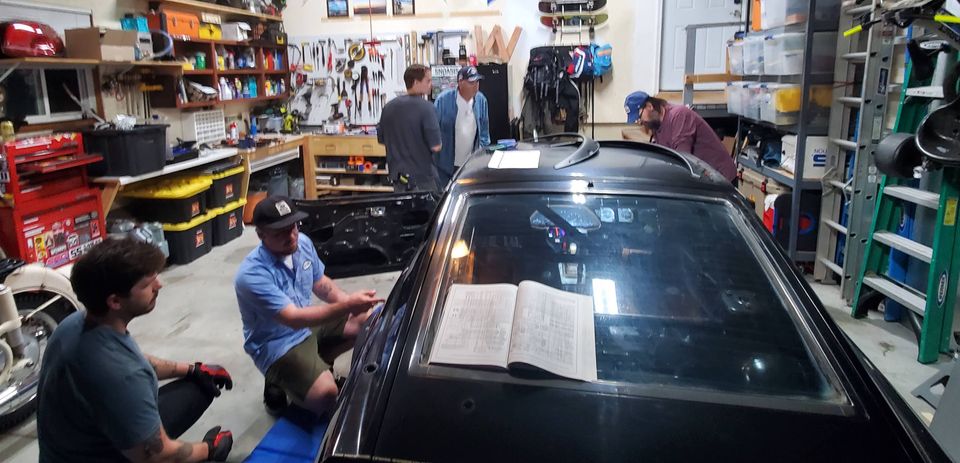
We were fortunate to be joined by Gregory's father, and son, for a recent worknight. Cross generational crapcan racing, friends. This is the spirit of Le Mons.
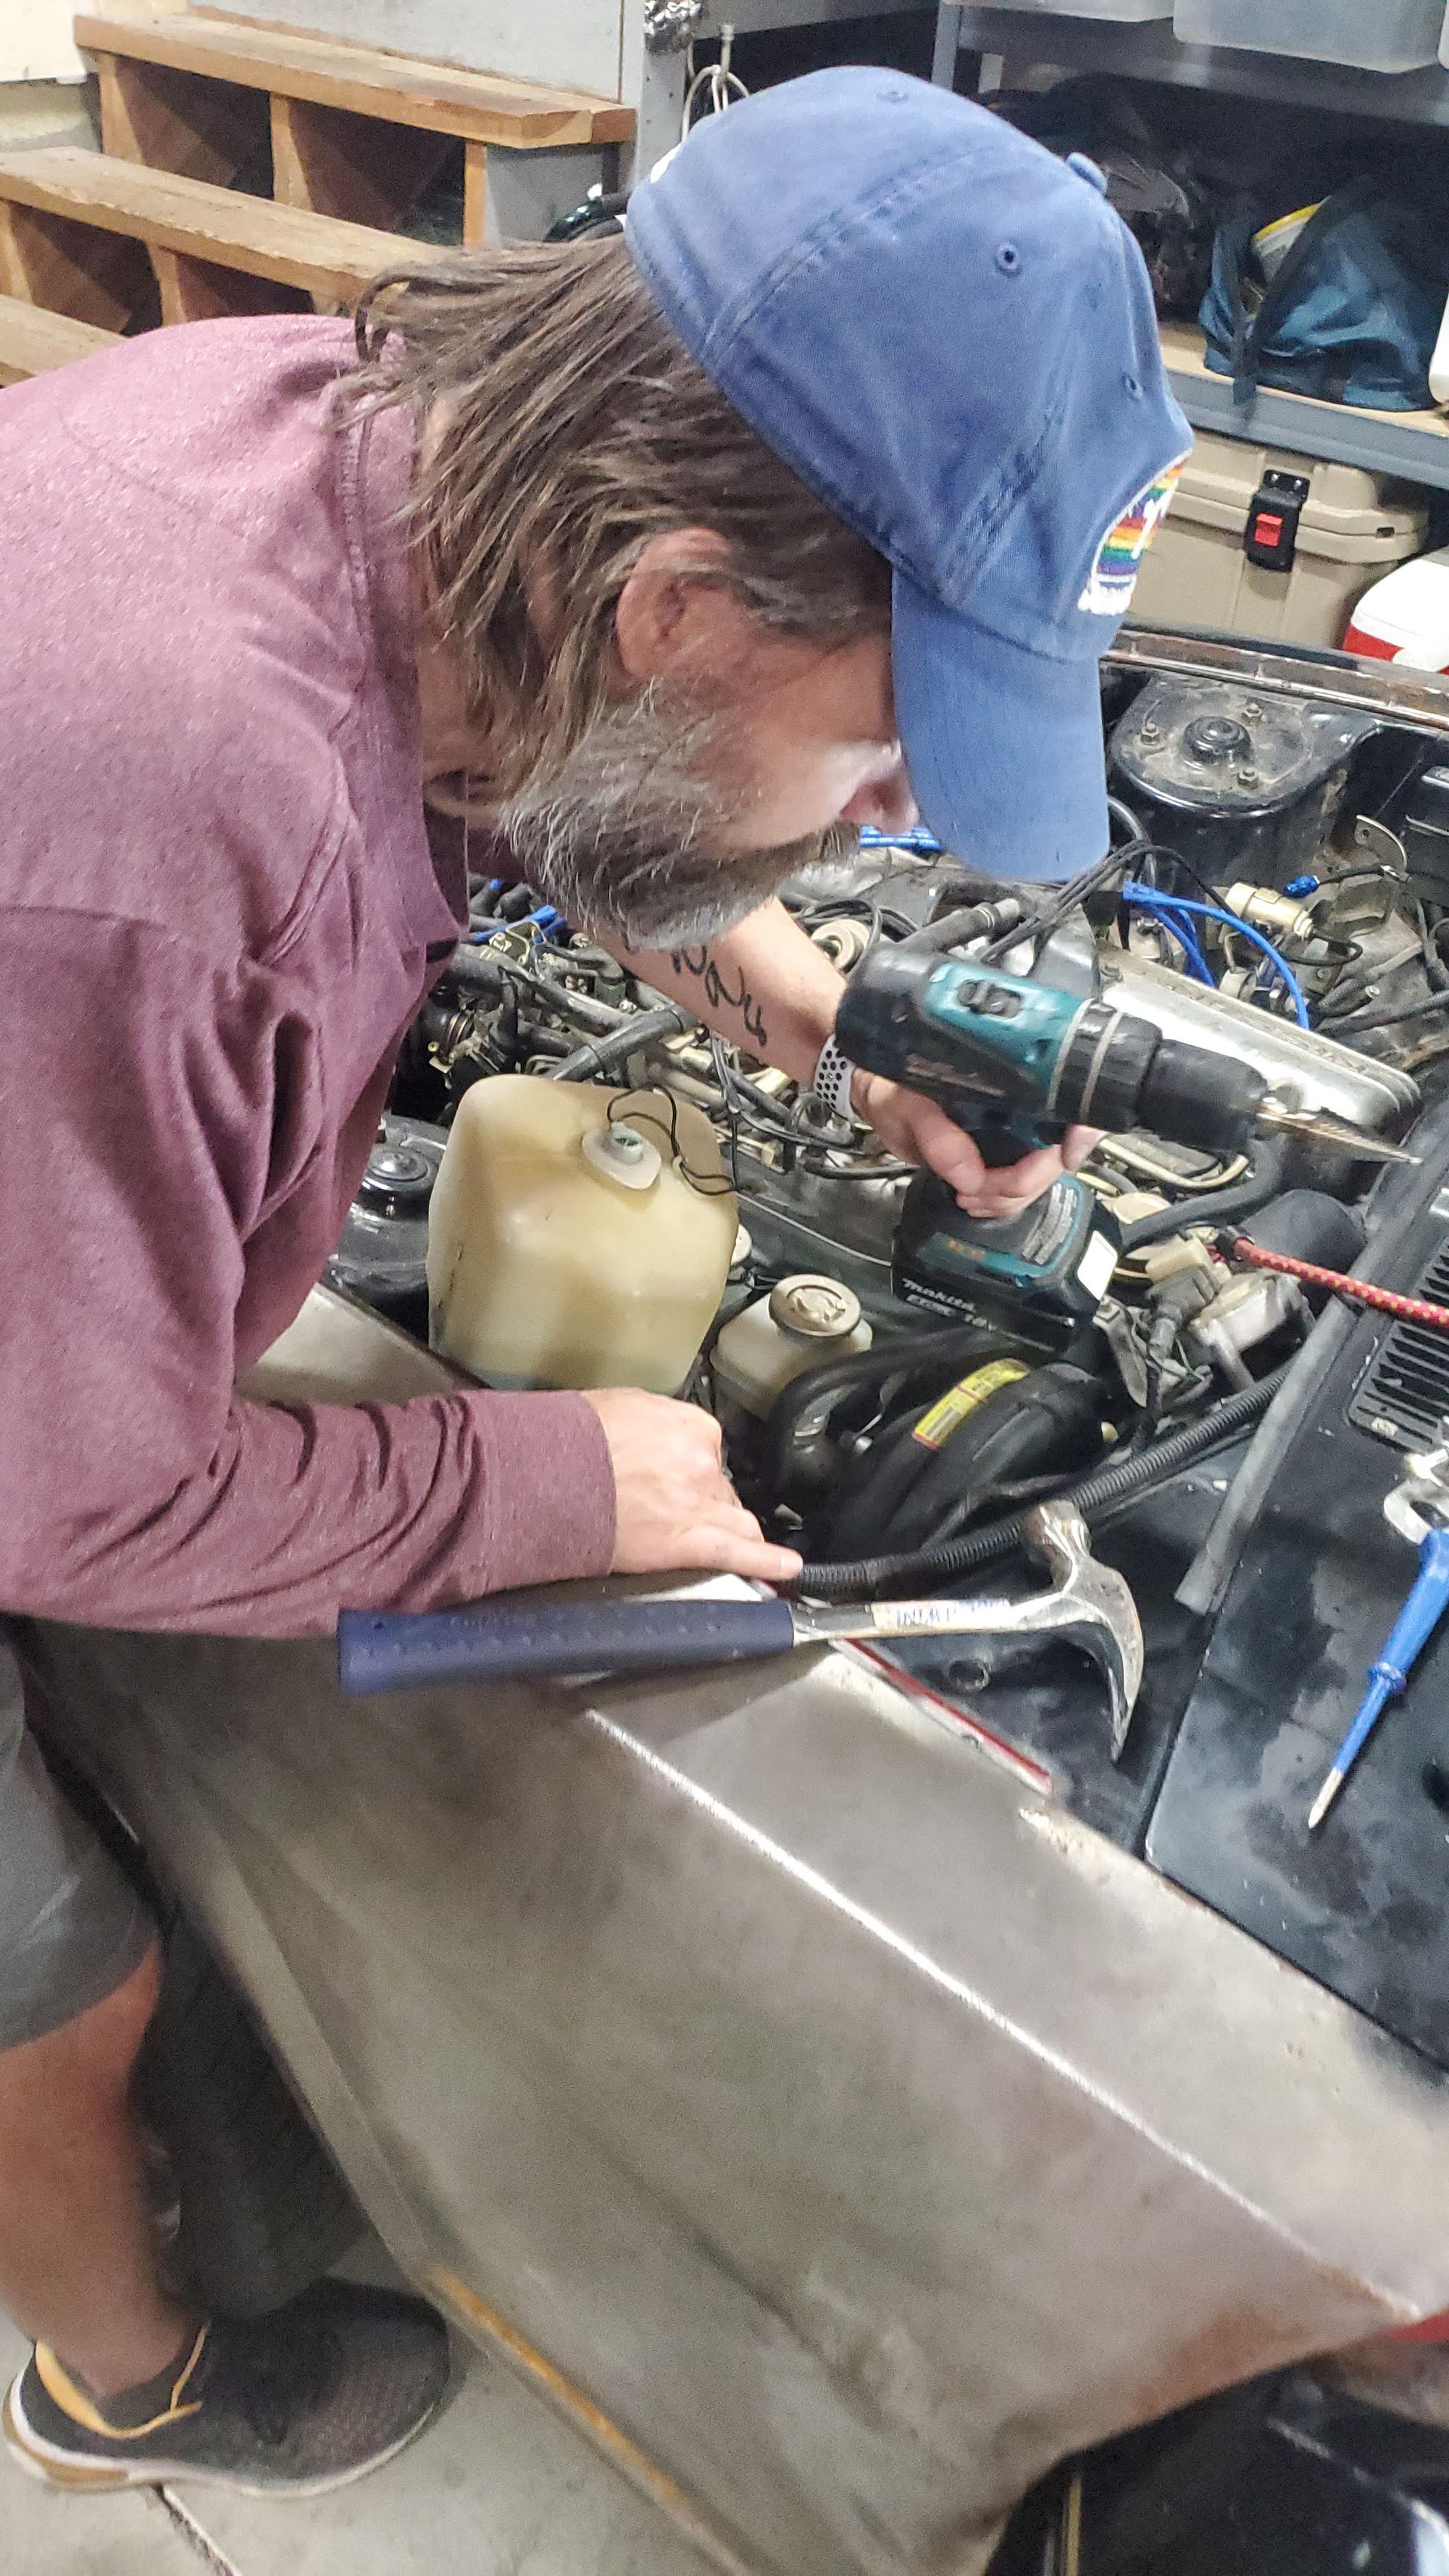
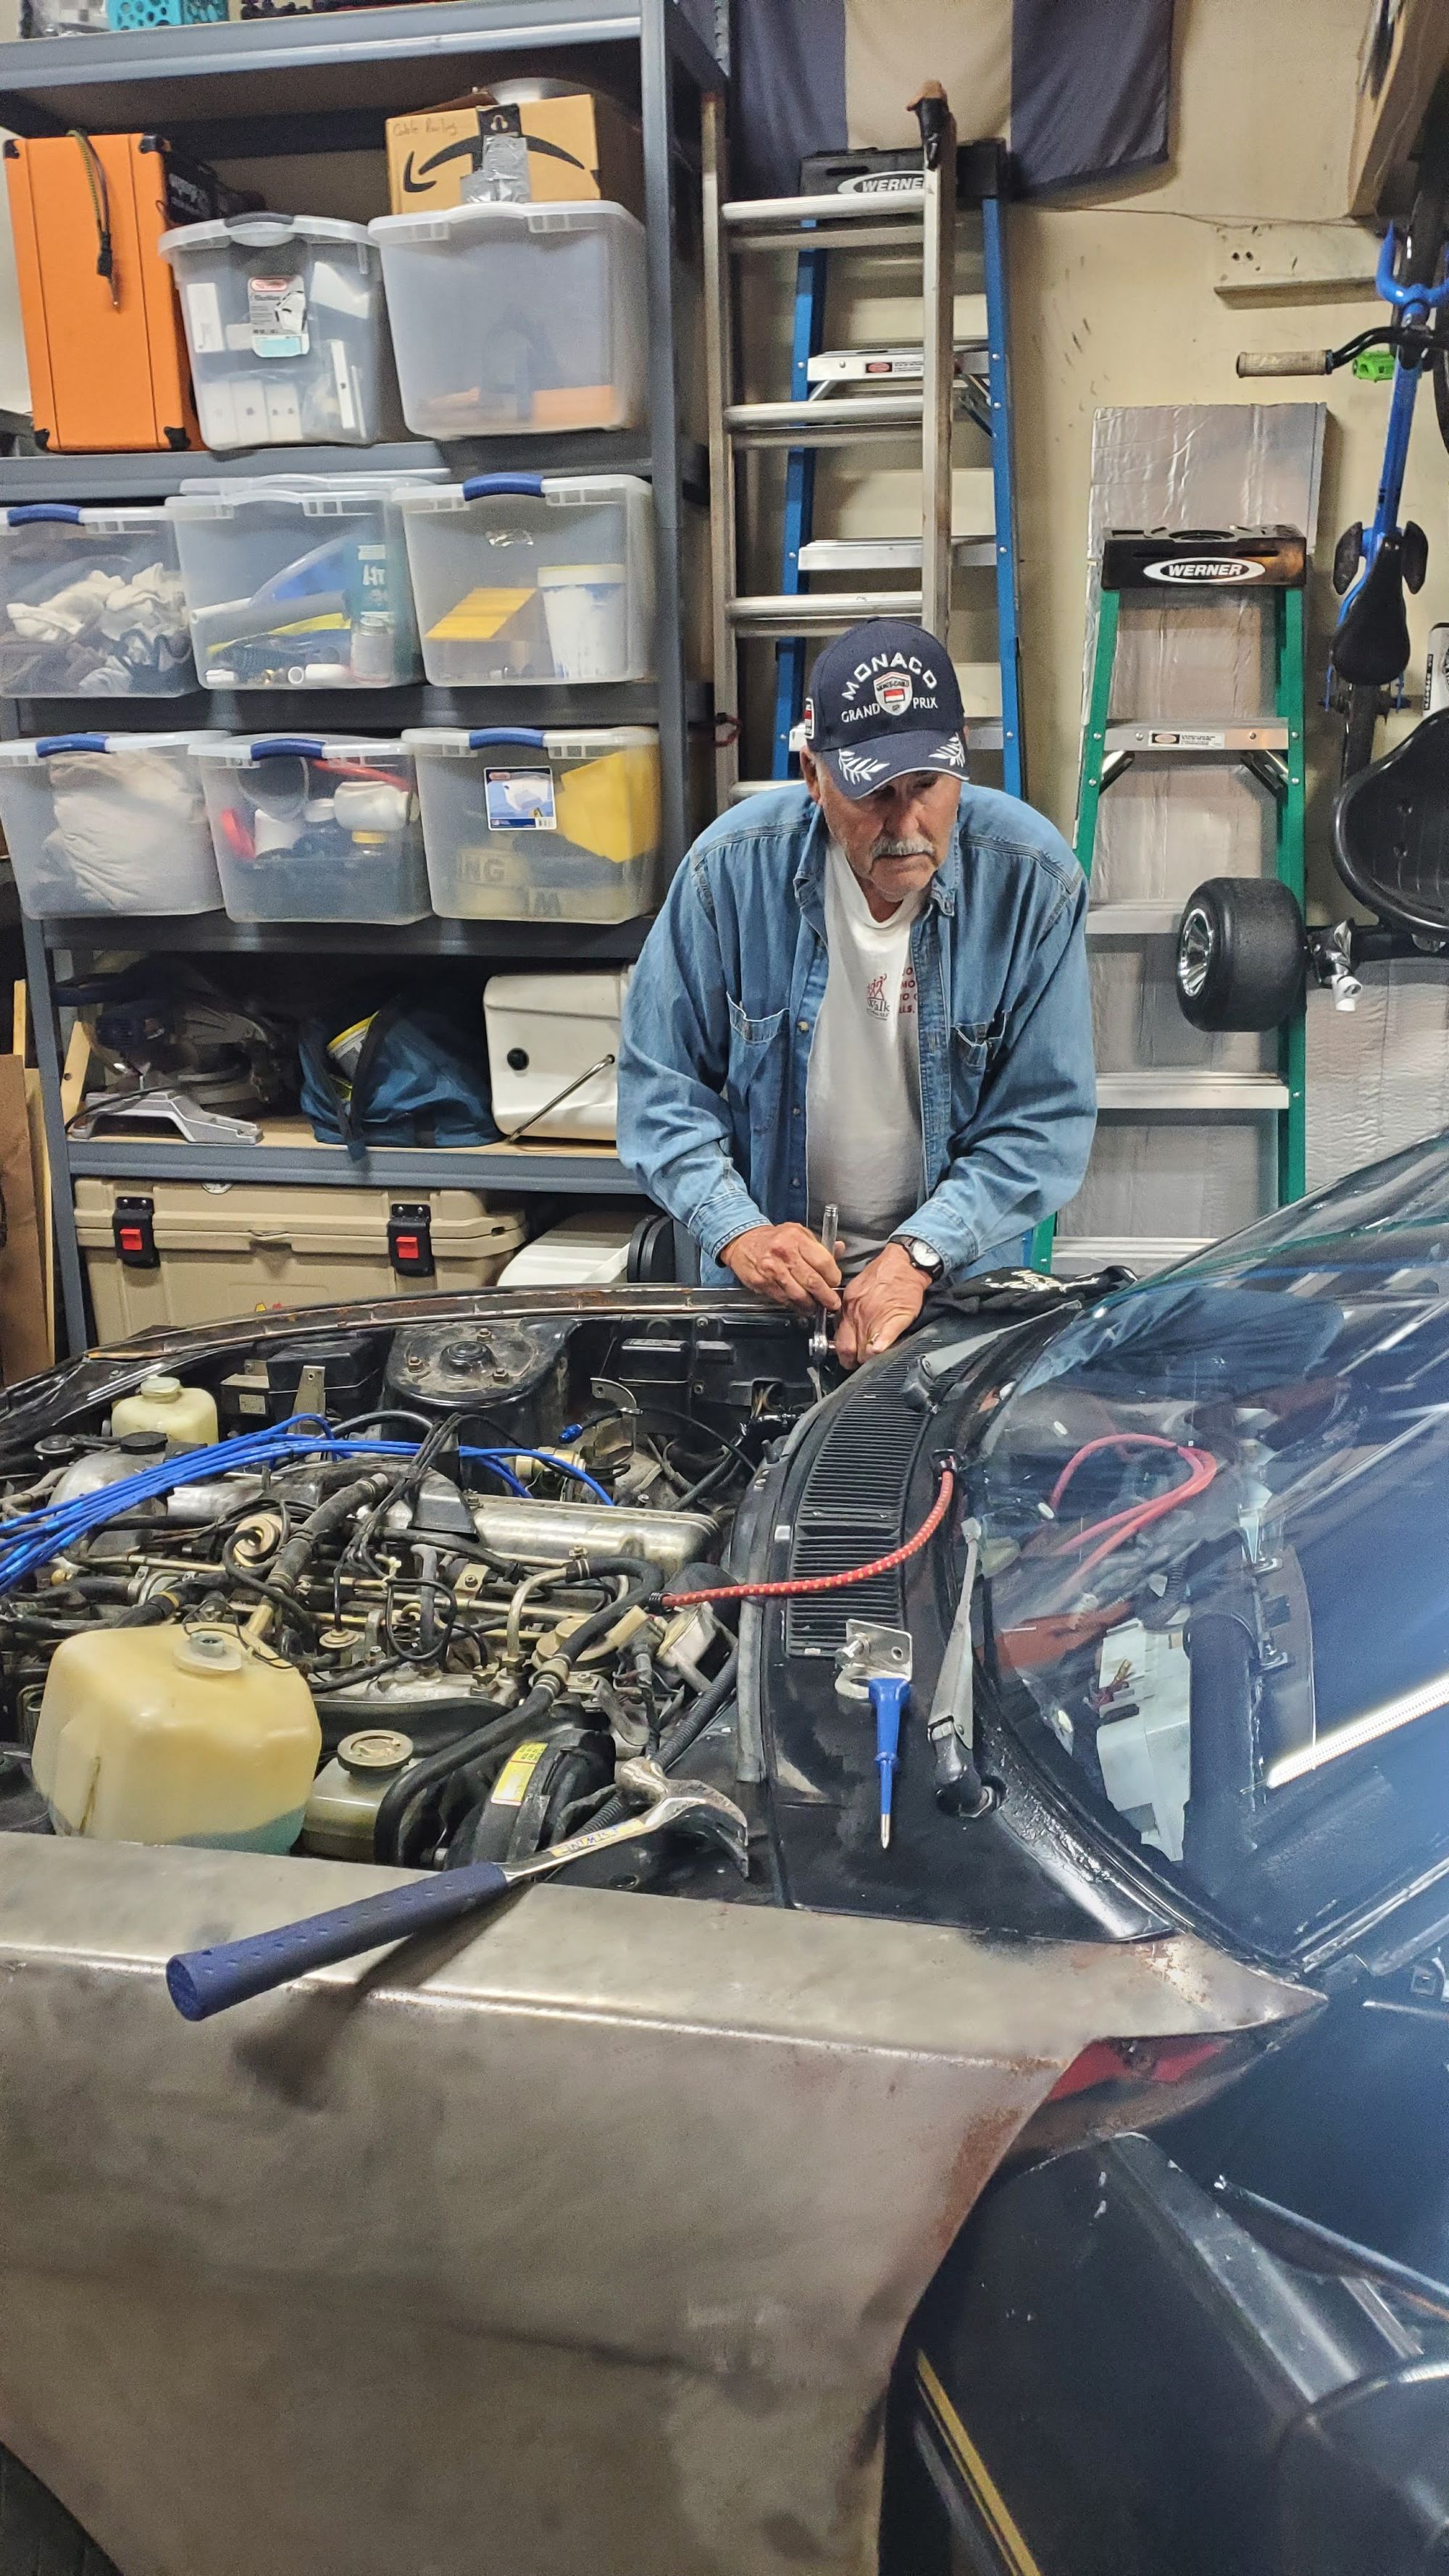
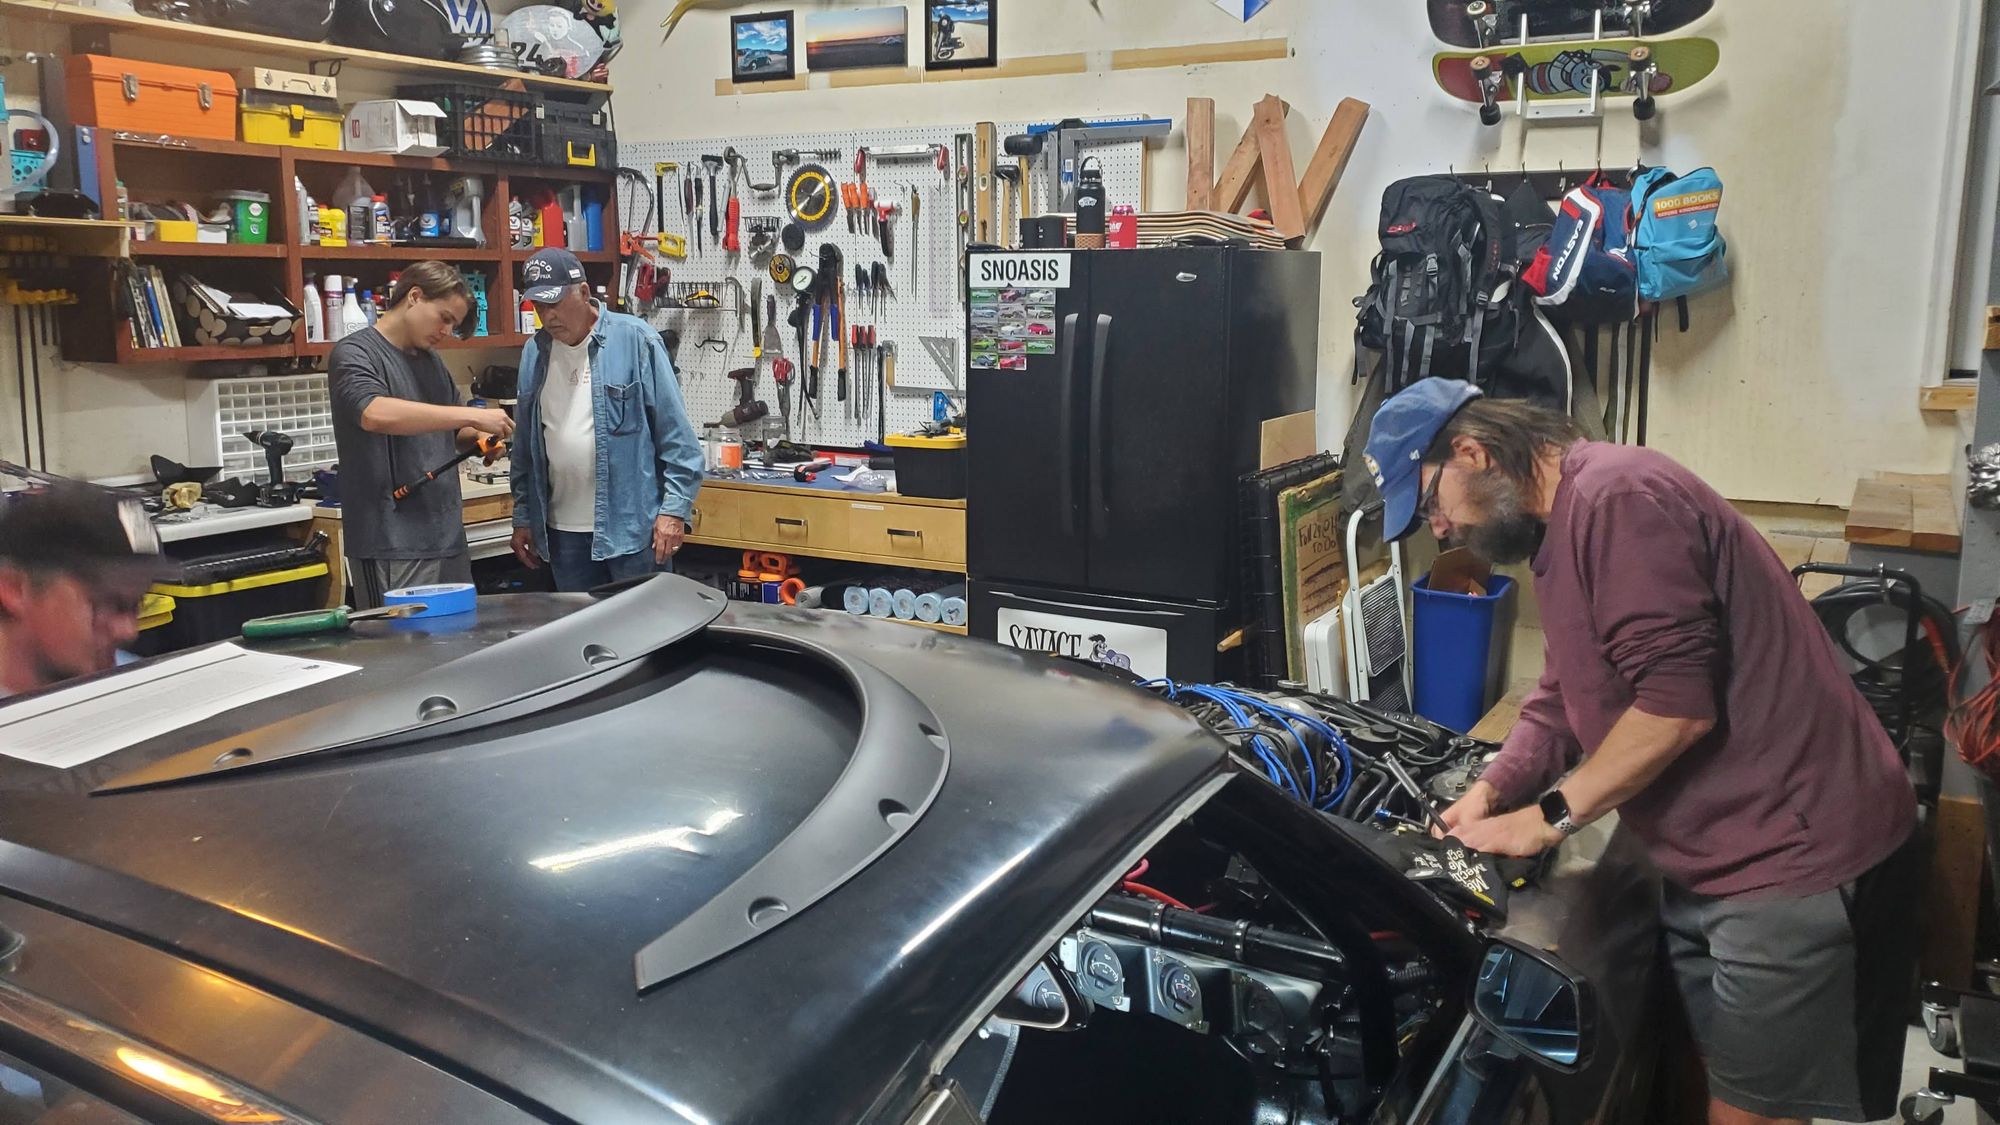
The guys got all 4 pins mounted to the chassis, although it appears our social media team did a poor job of getting even a single, clear shot of one of the pins. You simply can't find good help these days. All that remains of this job is to drill the holes in the hood.
-
Buy/install fender flares (in-progress)
Fender flares, aside from looking dead sexy, ensure our tire surface does not extend past the body. This was Teammate Ben's first time drilling holes in a car, and I think we can all acknowledge what a great moment that is in a persons life. Just sitting there, with a power tool, doing irreparable damage to the body of a vehicle.
If that's not the American Dream, I don't know what is.
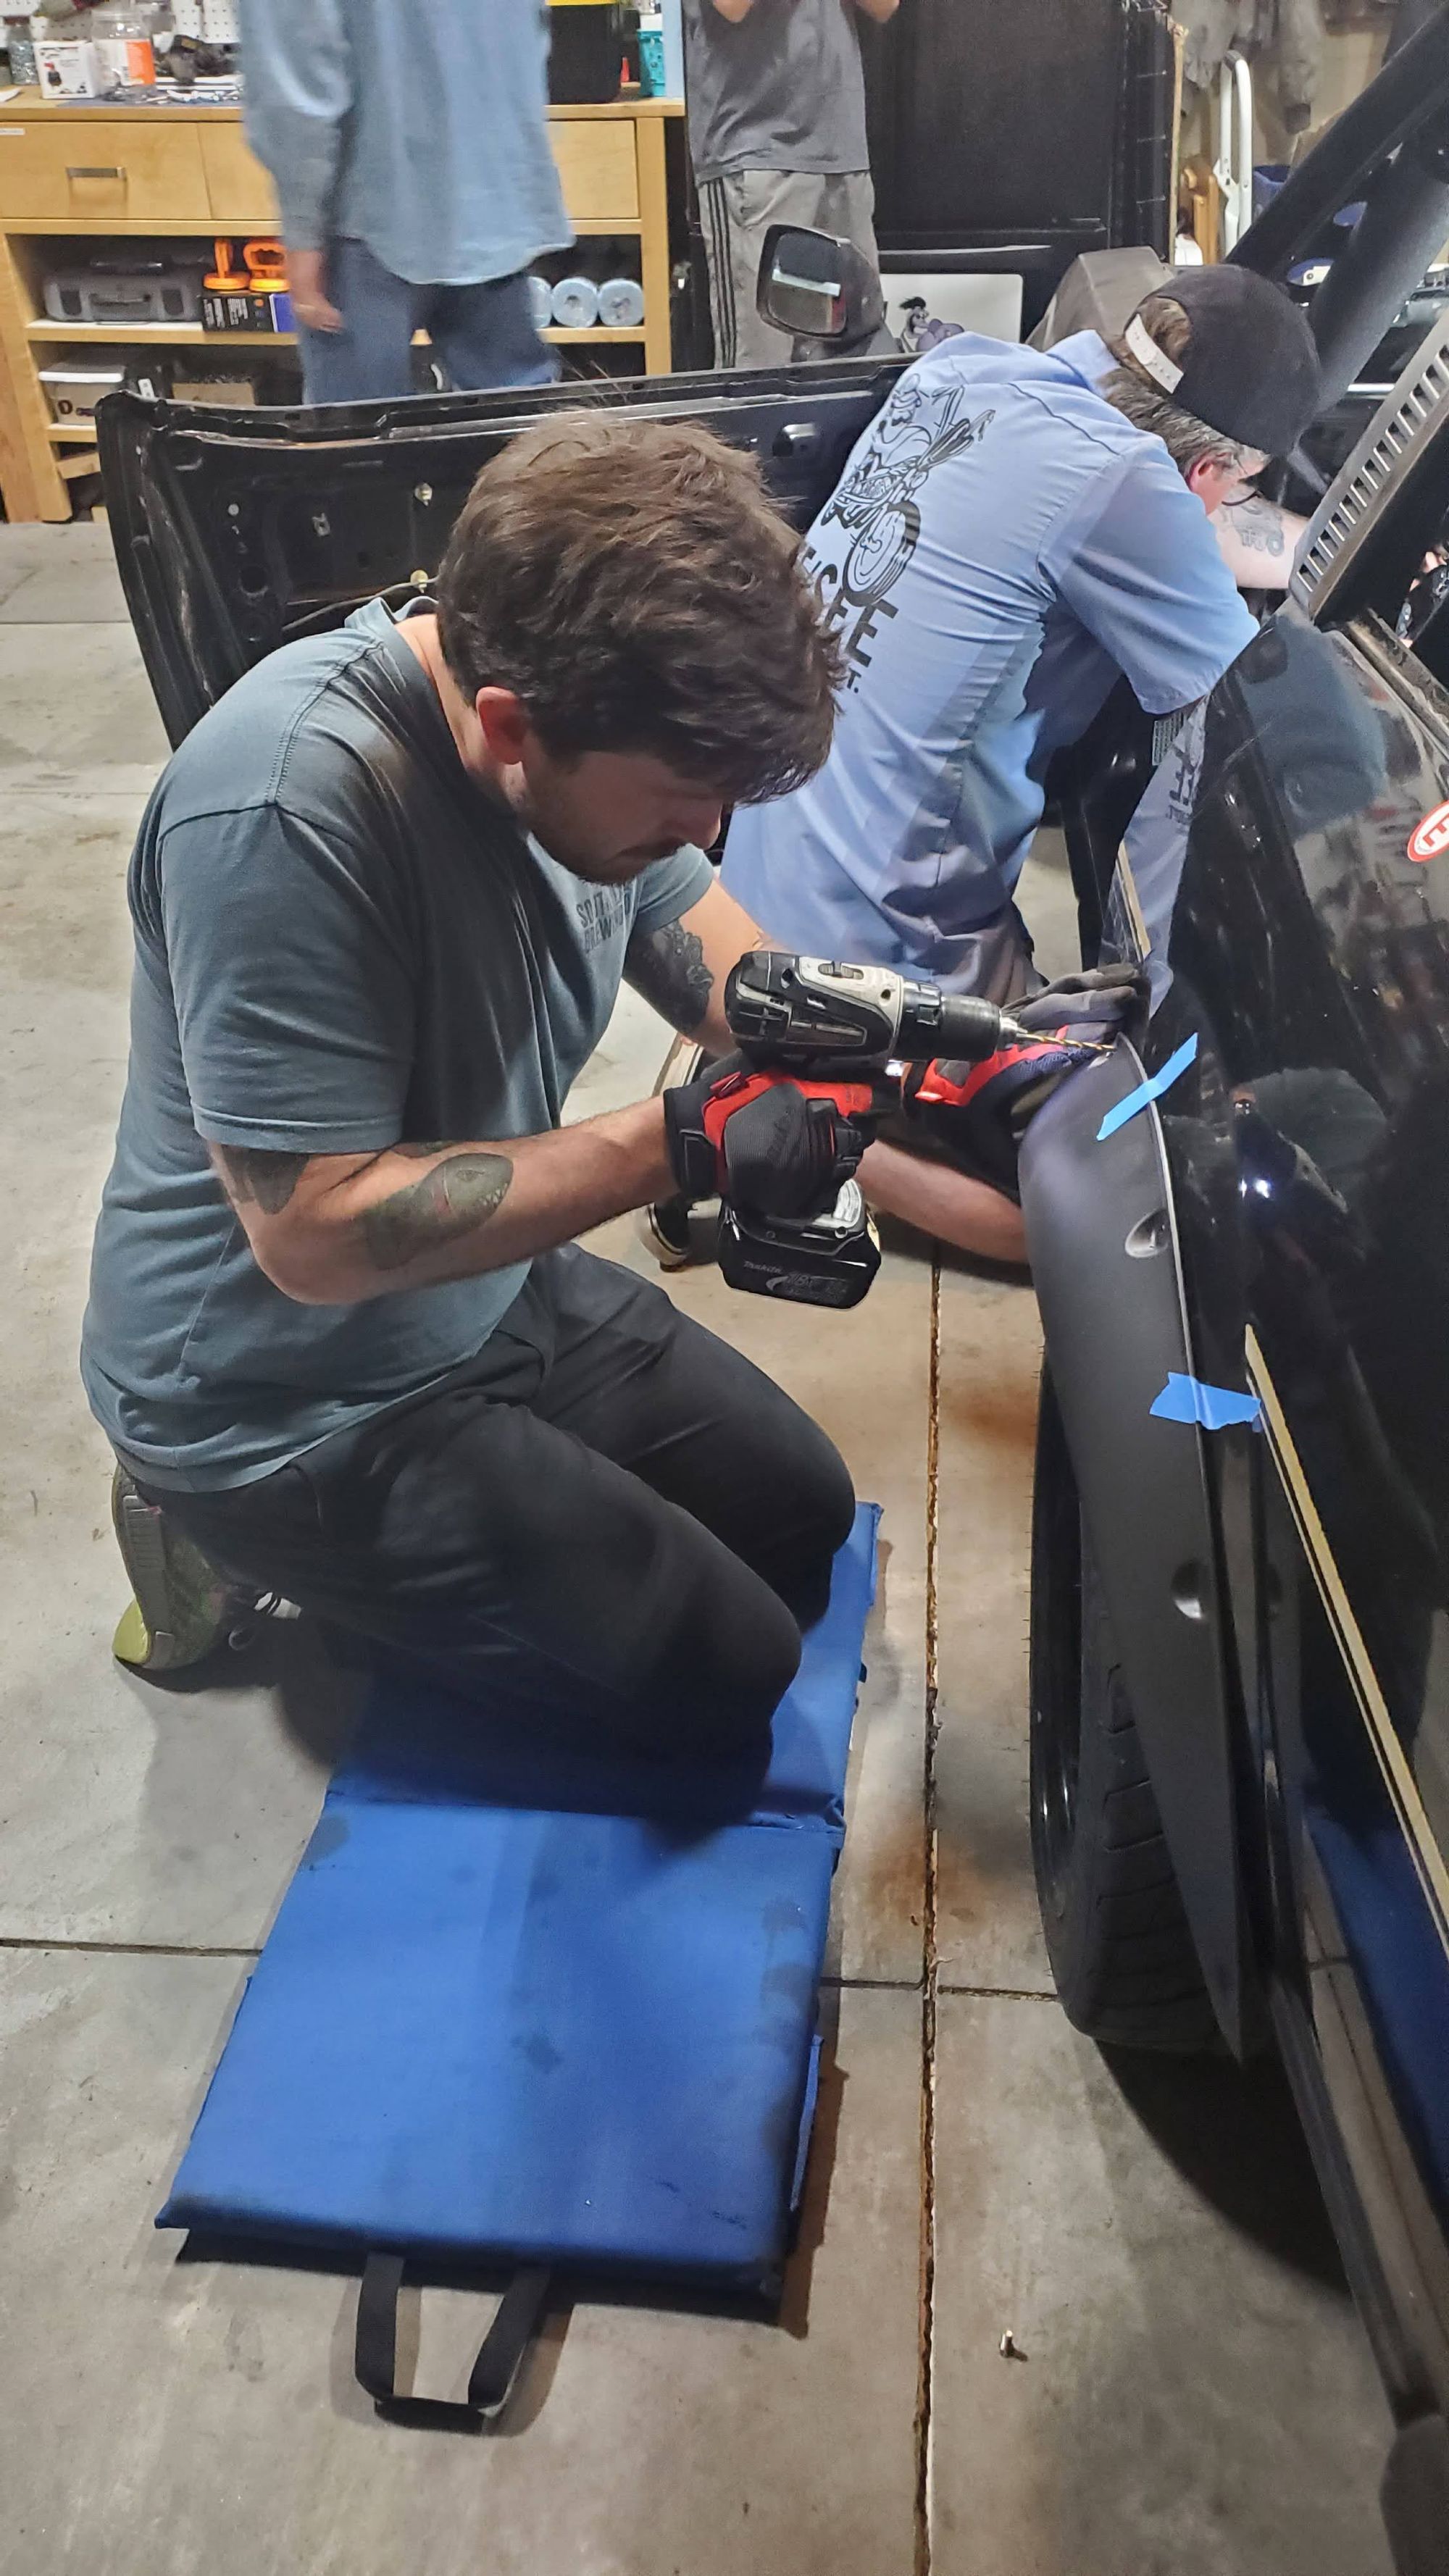
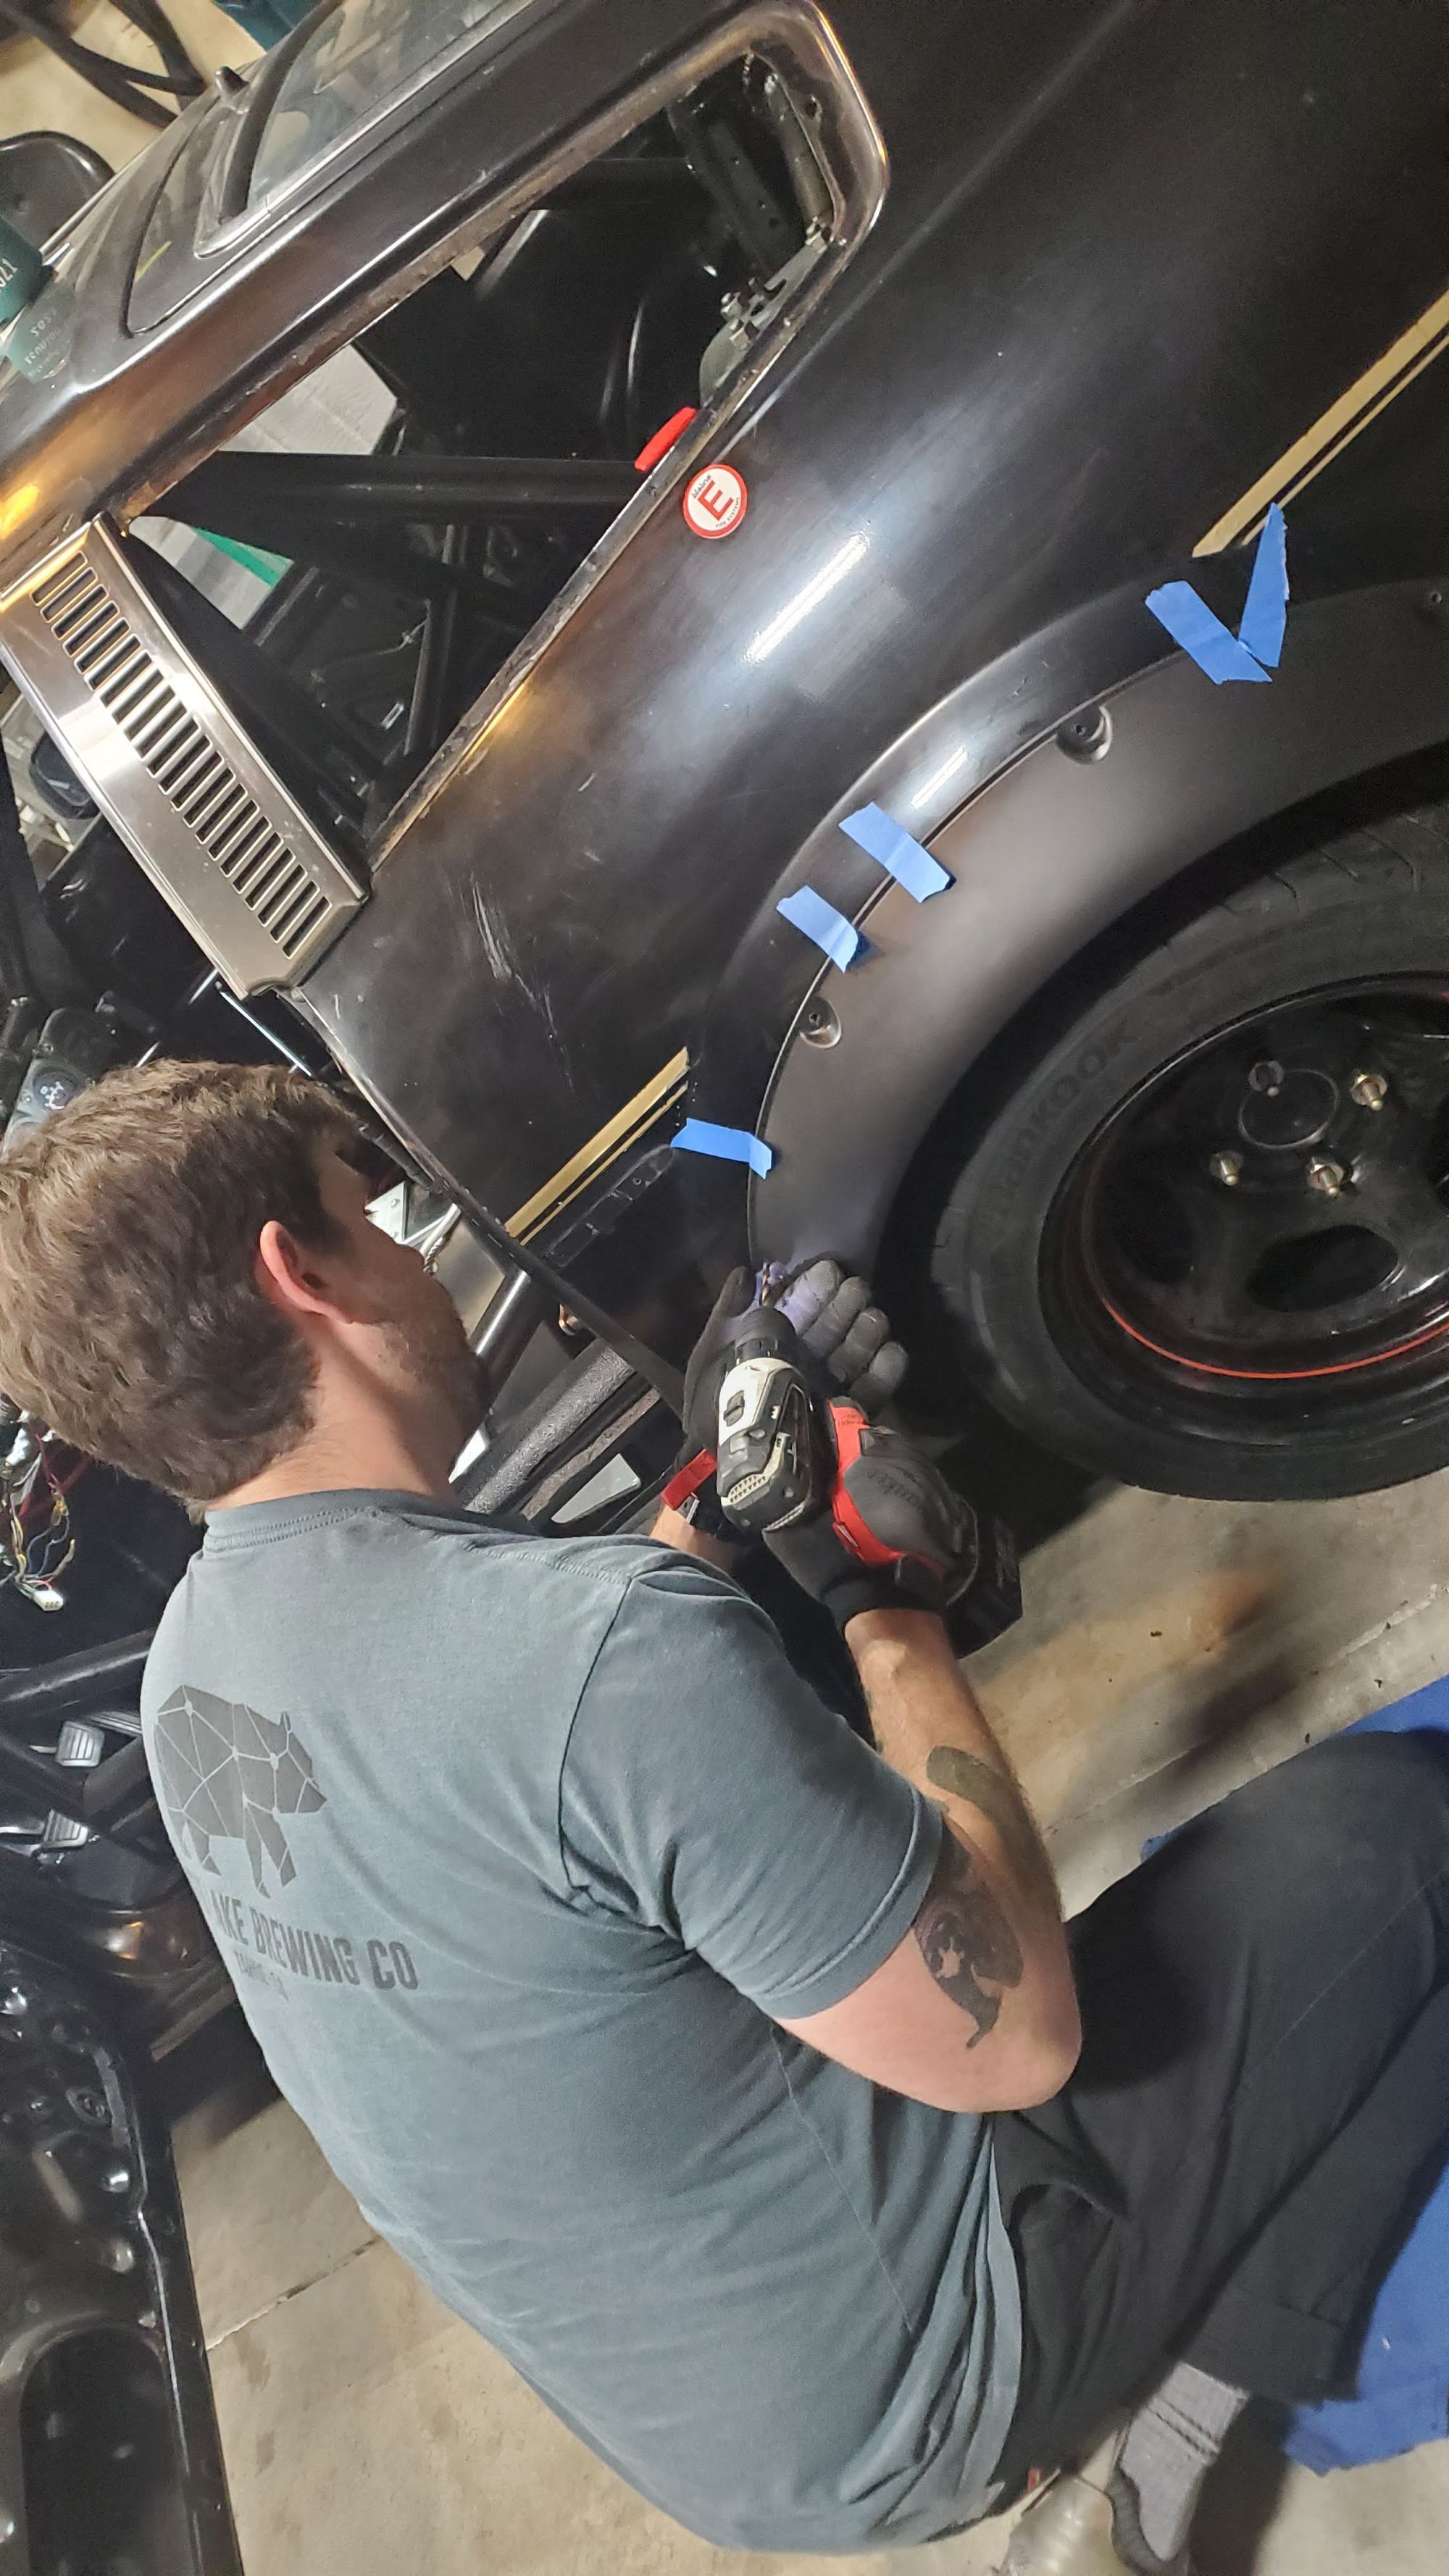
We've got both of the rears almost done, and will be able to easily knock those out, and the fronts, at our next (and final!) planned work night.
-
Install Kill Switch (DONE)
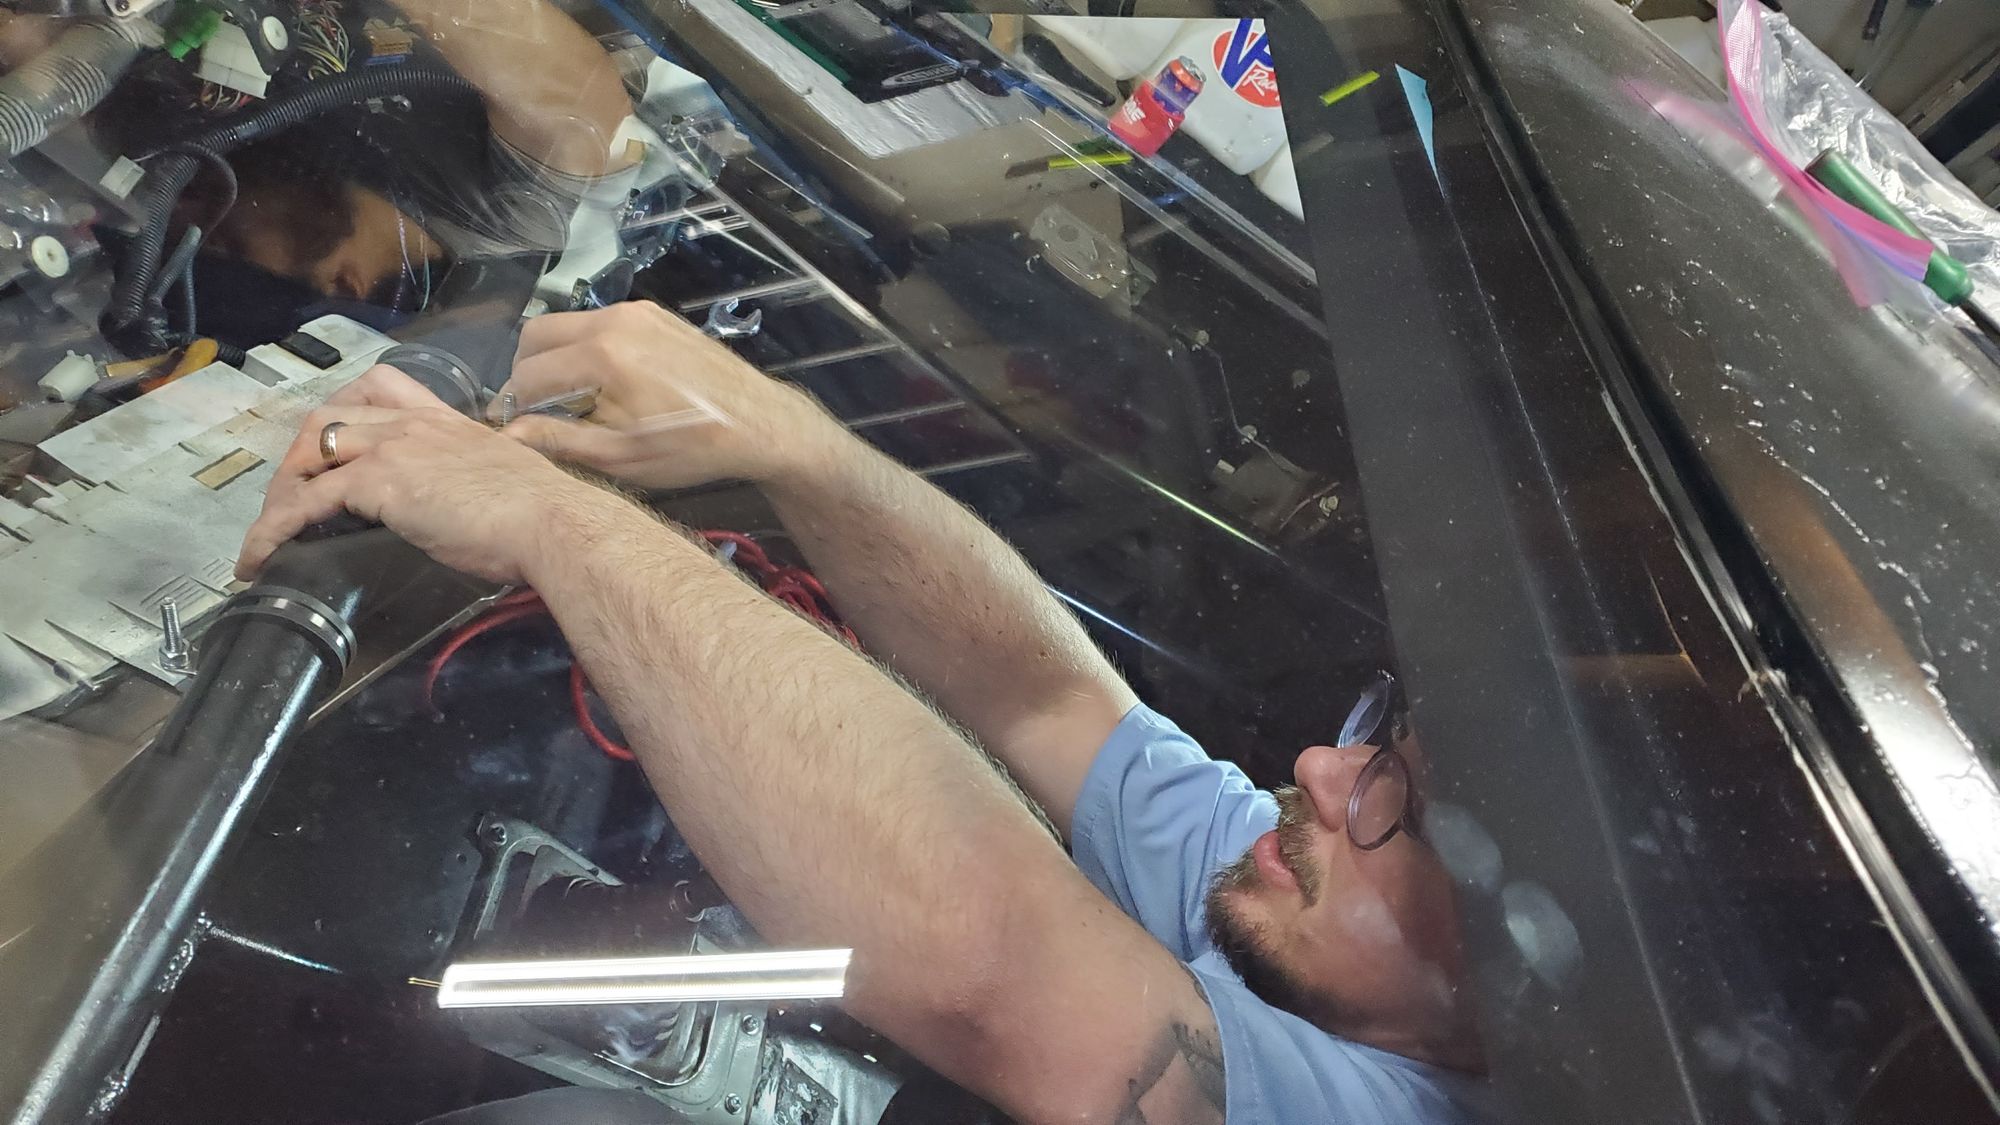
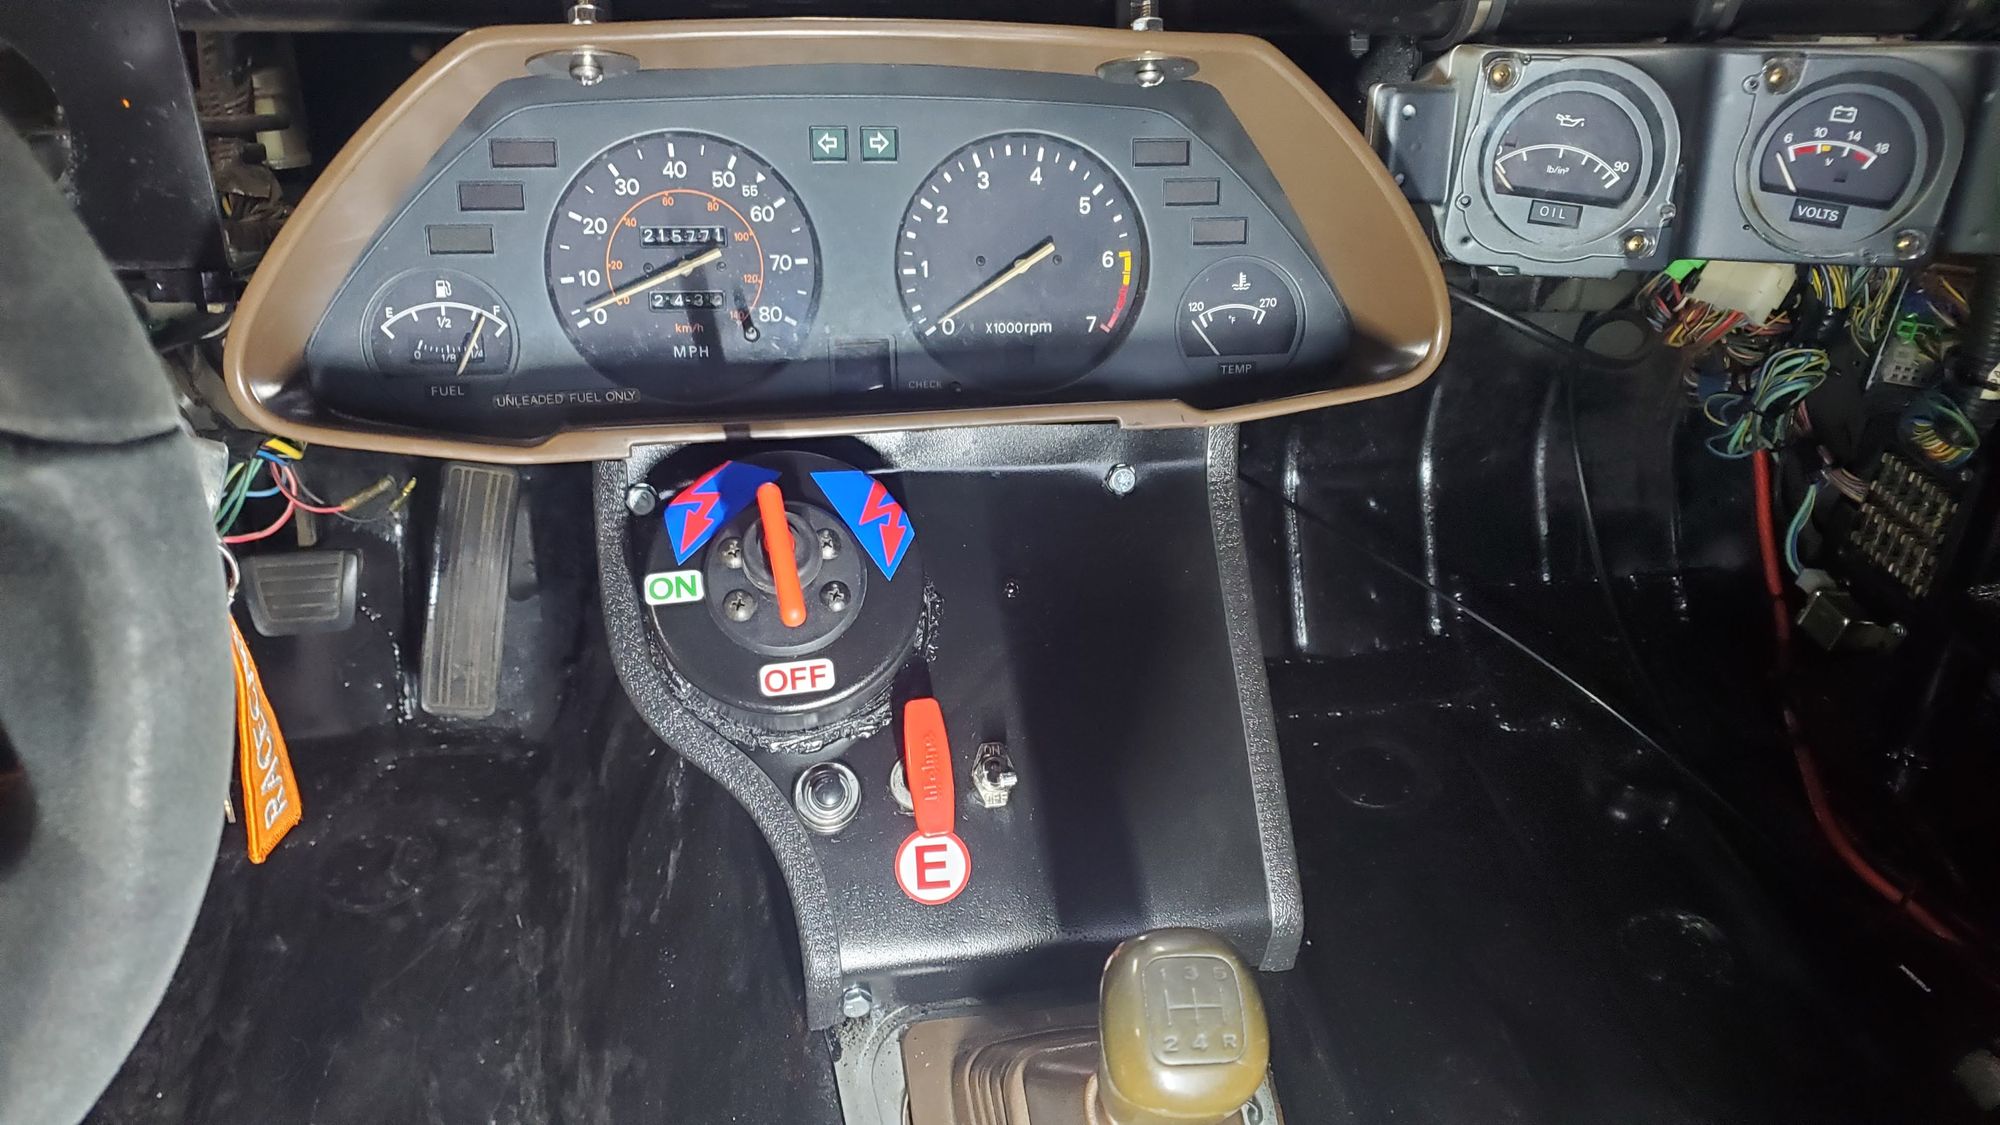
So, this is a bit of a story. Before we talk about the kill-switch, let's talk about that sweet instrument cluster we removed last November. Of course, there is no dash to put it back in, so we had to come up with our own solution. After some tinkering, Nick was able to secure it to both the roll cage, and the driveshaft tunnel. This worked out incredibly well, as we can see all gauges while strapped in despite an unconventionally "low" mounting point.
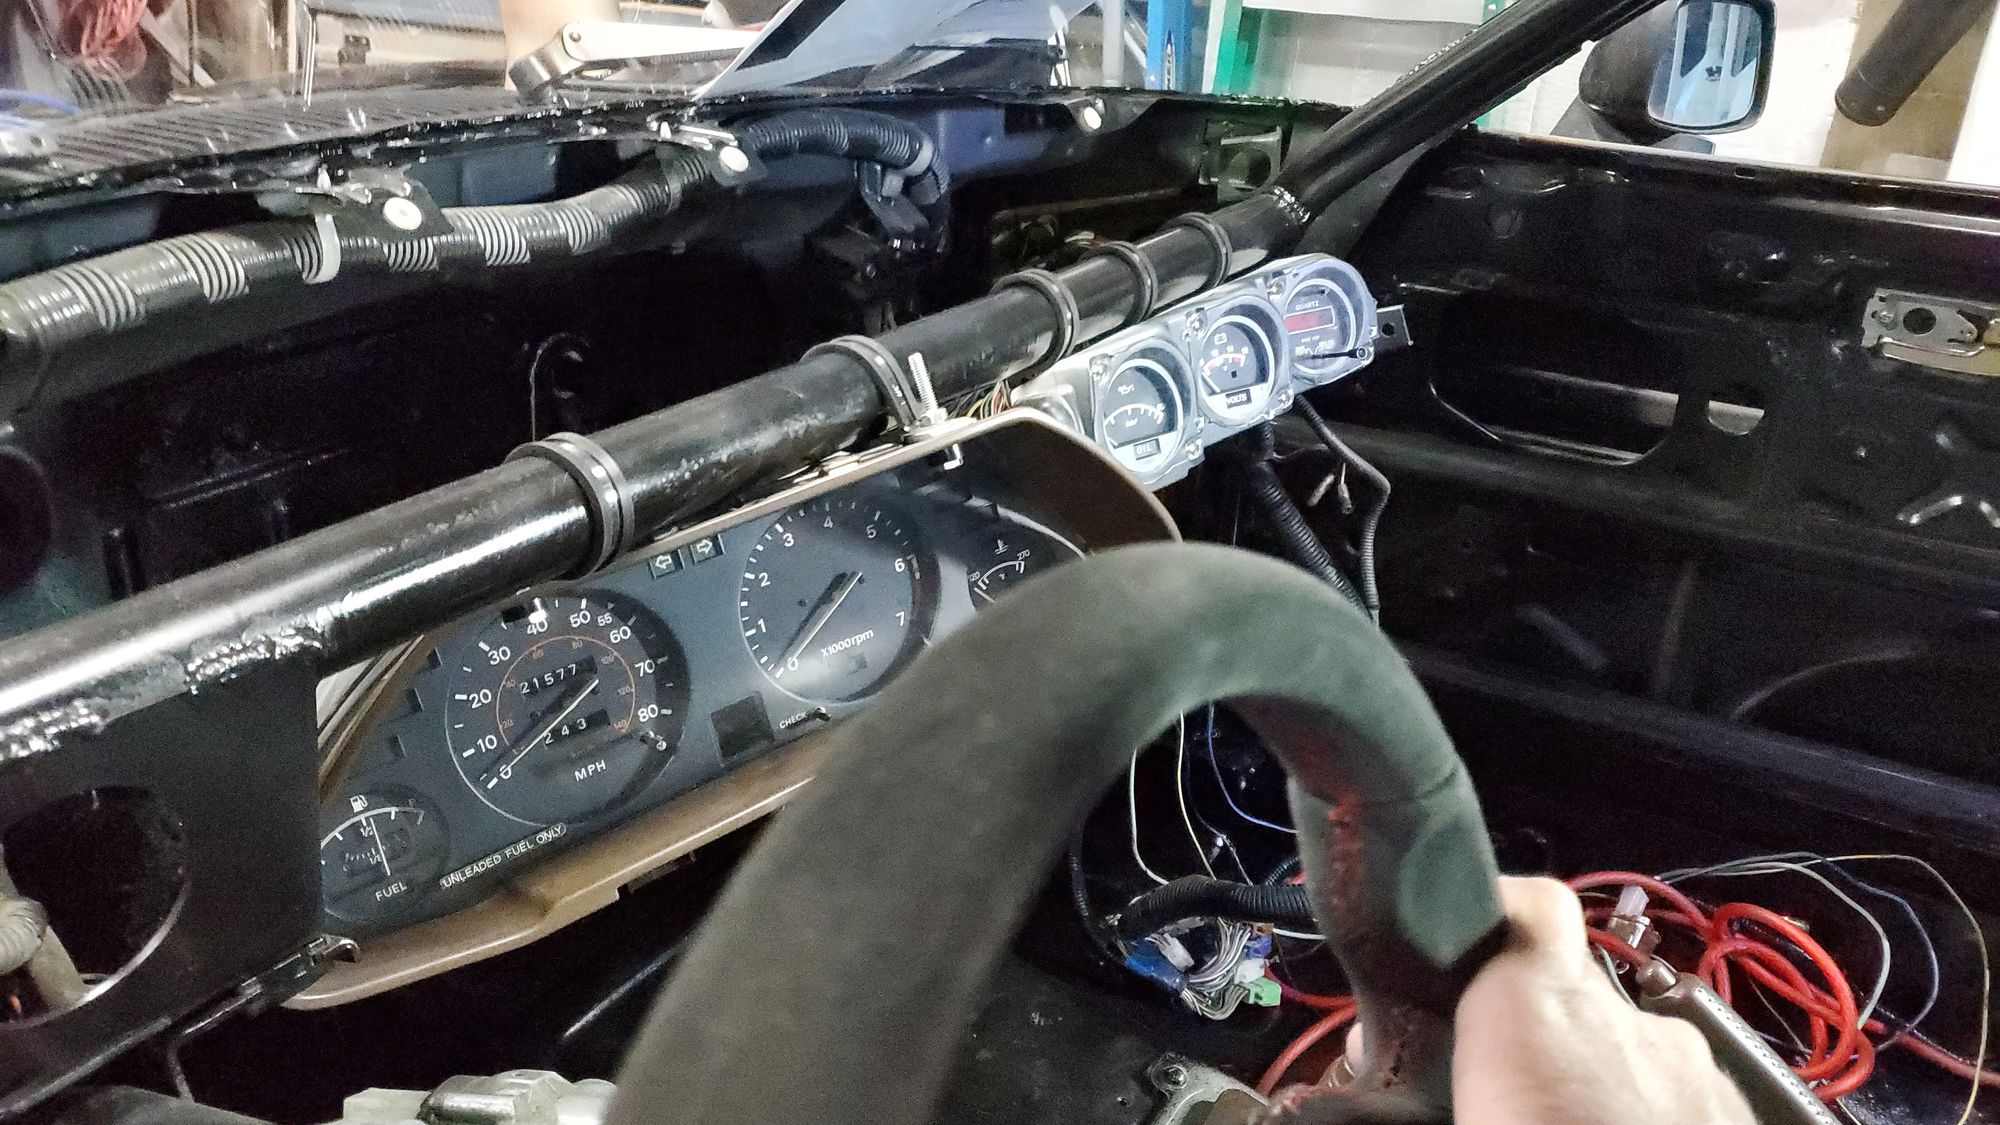
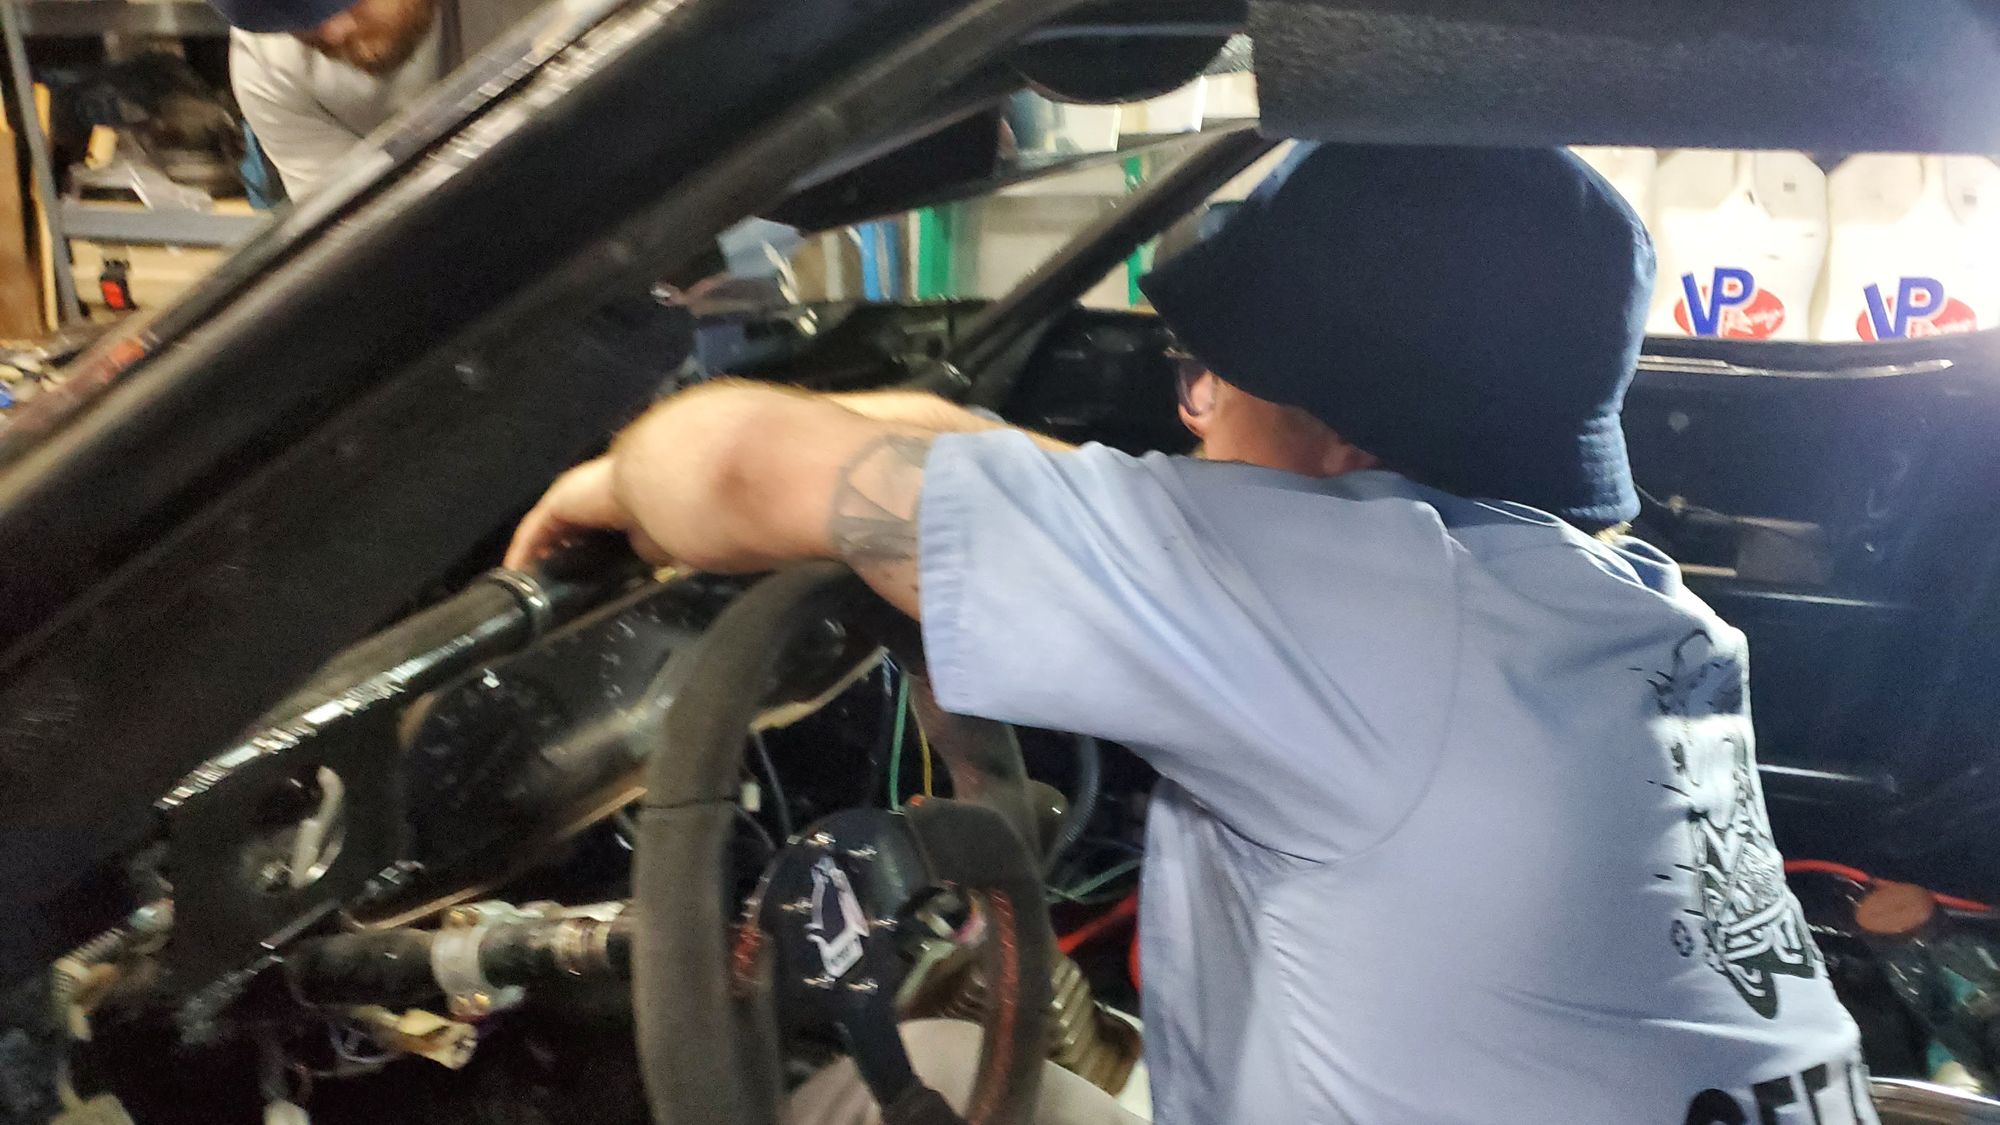
Here we have the final answer, and a preview of our sweet combination kill-switch/fire suppression activation pull handle mounting plate.
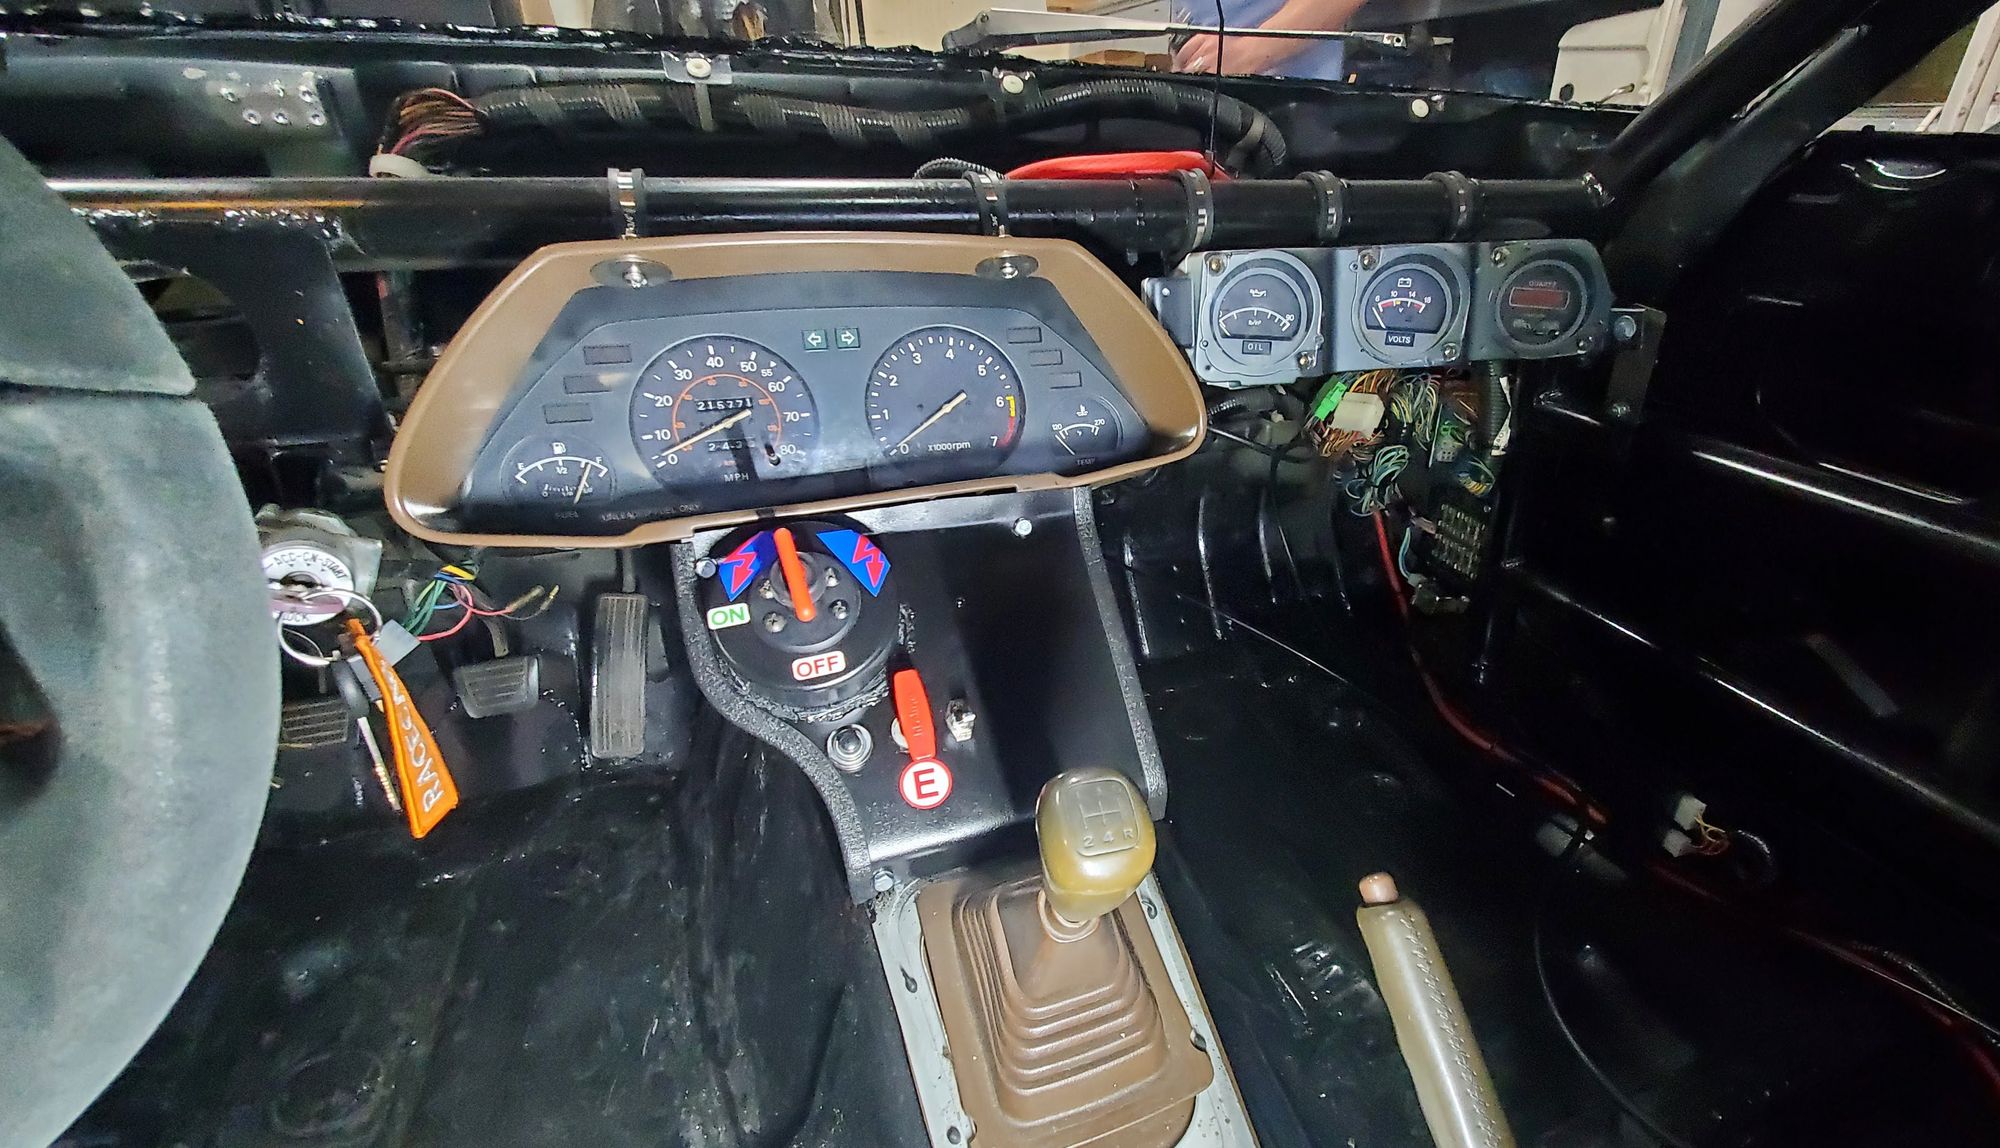
So, the kill-switch. When a car is fueling, you do not want sparks. If a car is on fire, you do not want the fuel pump running. For all kinds of things that might happen in race conditions, electricity is not your friend. A kill-switch is a mandatory piece of equipment in every racing series I know of. If things go wrong, we have to ensure immediate shutdown of what's left of our car.
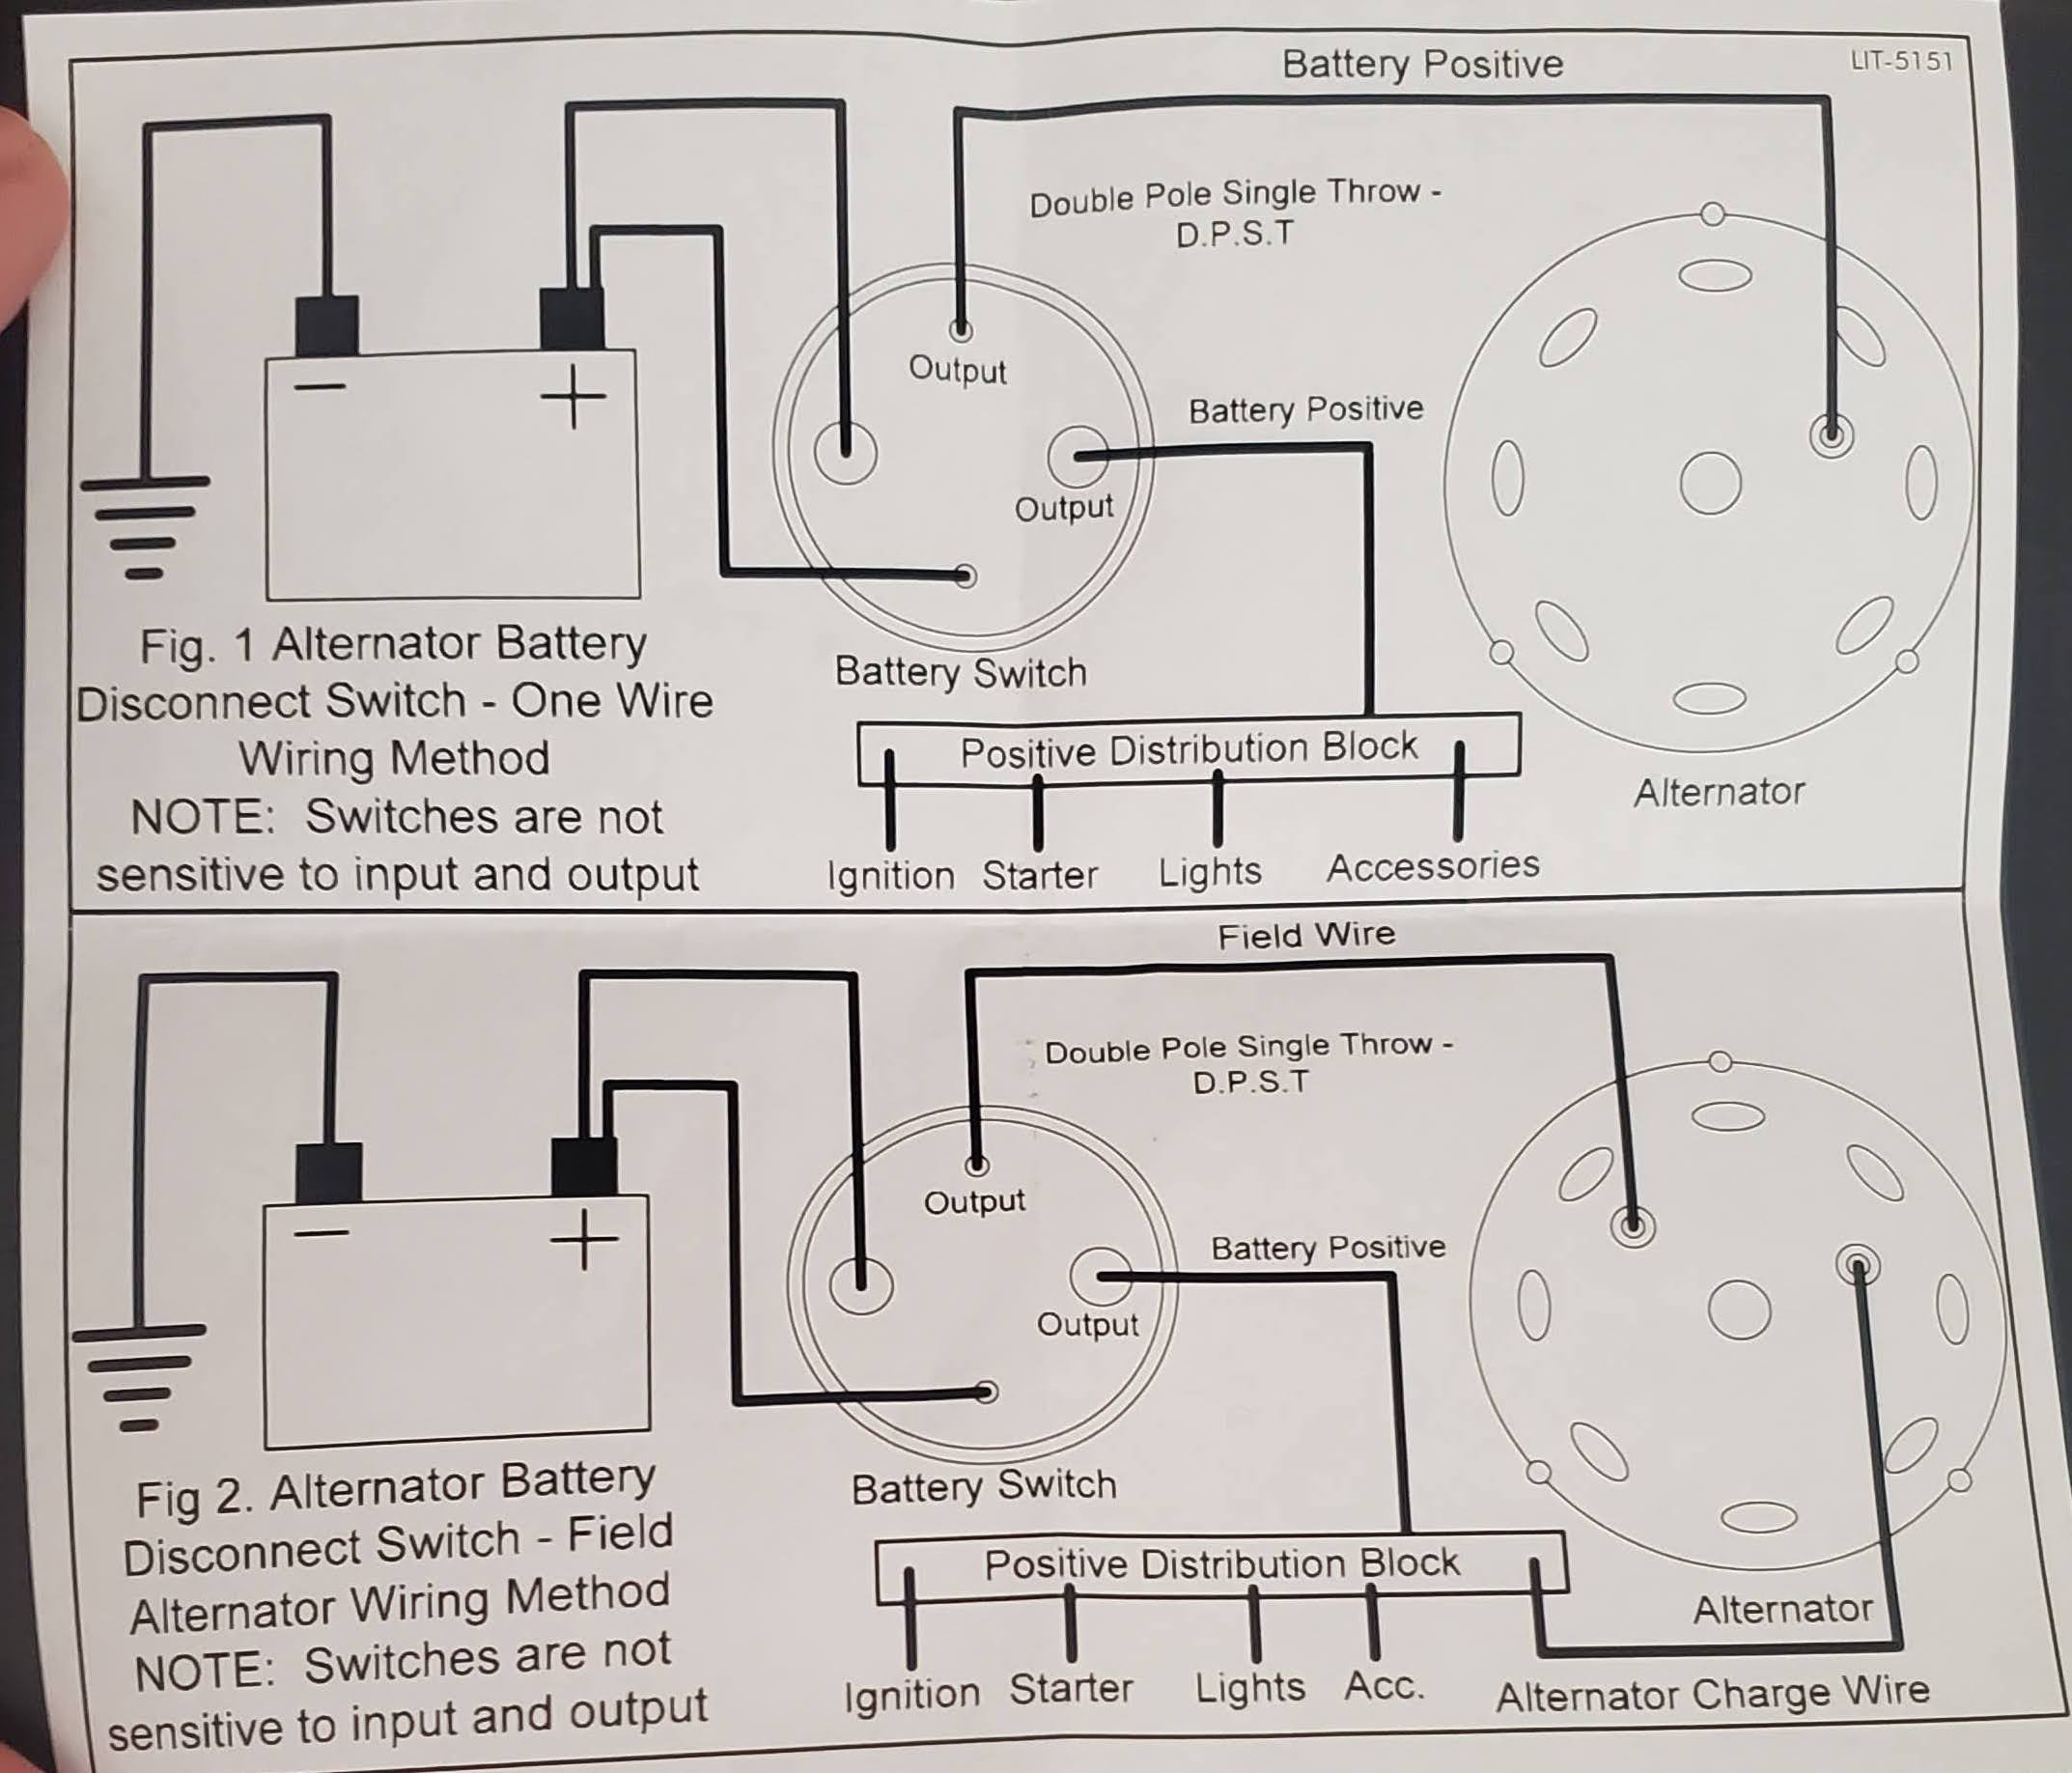
If you've not familiar, a kill-switch sits between (all the things that create power) and (all the things that consume power), enabling you to reliably, and utterly cut power. This was our first time installing a kill-switch, and we Learned a Valuable Lesson. I'll let Nick tell it himself:
My initial thought was that if the kill switch simply severed the car’s connection to the positive terminal of the battery that the car would shut off. Fun fact: that’s not true, because the alternator continues to spin and that generates enough electricity to keep the car running. So the 2 post kill switch we initially purchased won’t satisfy the rules of our benevolent Lemons judges.
So we obtained a 4 post kill switch. The two larger posts essentially work just like the posts on the 2 post switch. Which is to sever the connection between the car and the positive battery terminal. Additionally, the two smaller posts were connected to the ignition circuit. Which is the circuit that sends power to the fuel pump and the ignition coil. Which means no fuel, and no spark.
My father-in-law has hammered the following mantra into me “spark, air, fuel, and compression”. If you have all the engine SHOULD run. If you lack one, it won’t run. So by using those two smaller posts to cut off the fuel AND the spark, we’ve hedged our bets by removing two!
The great news here is that the 4 post solution works, and we can confidently check this box off our list of to-do's.
... (a whole lot of other words) ...
Teams are solely responsible for ensuring the proper installation, inspection, maintenance, and operation of all fire-suppression systems.
-
Install fire suppression (in-progress)
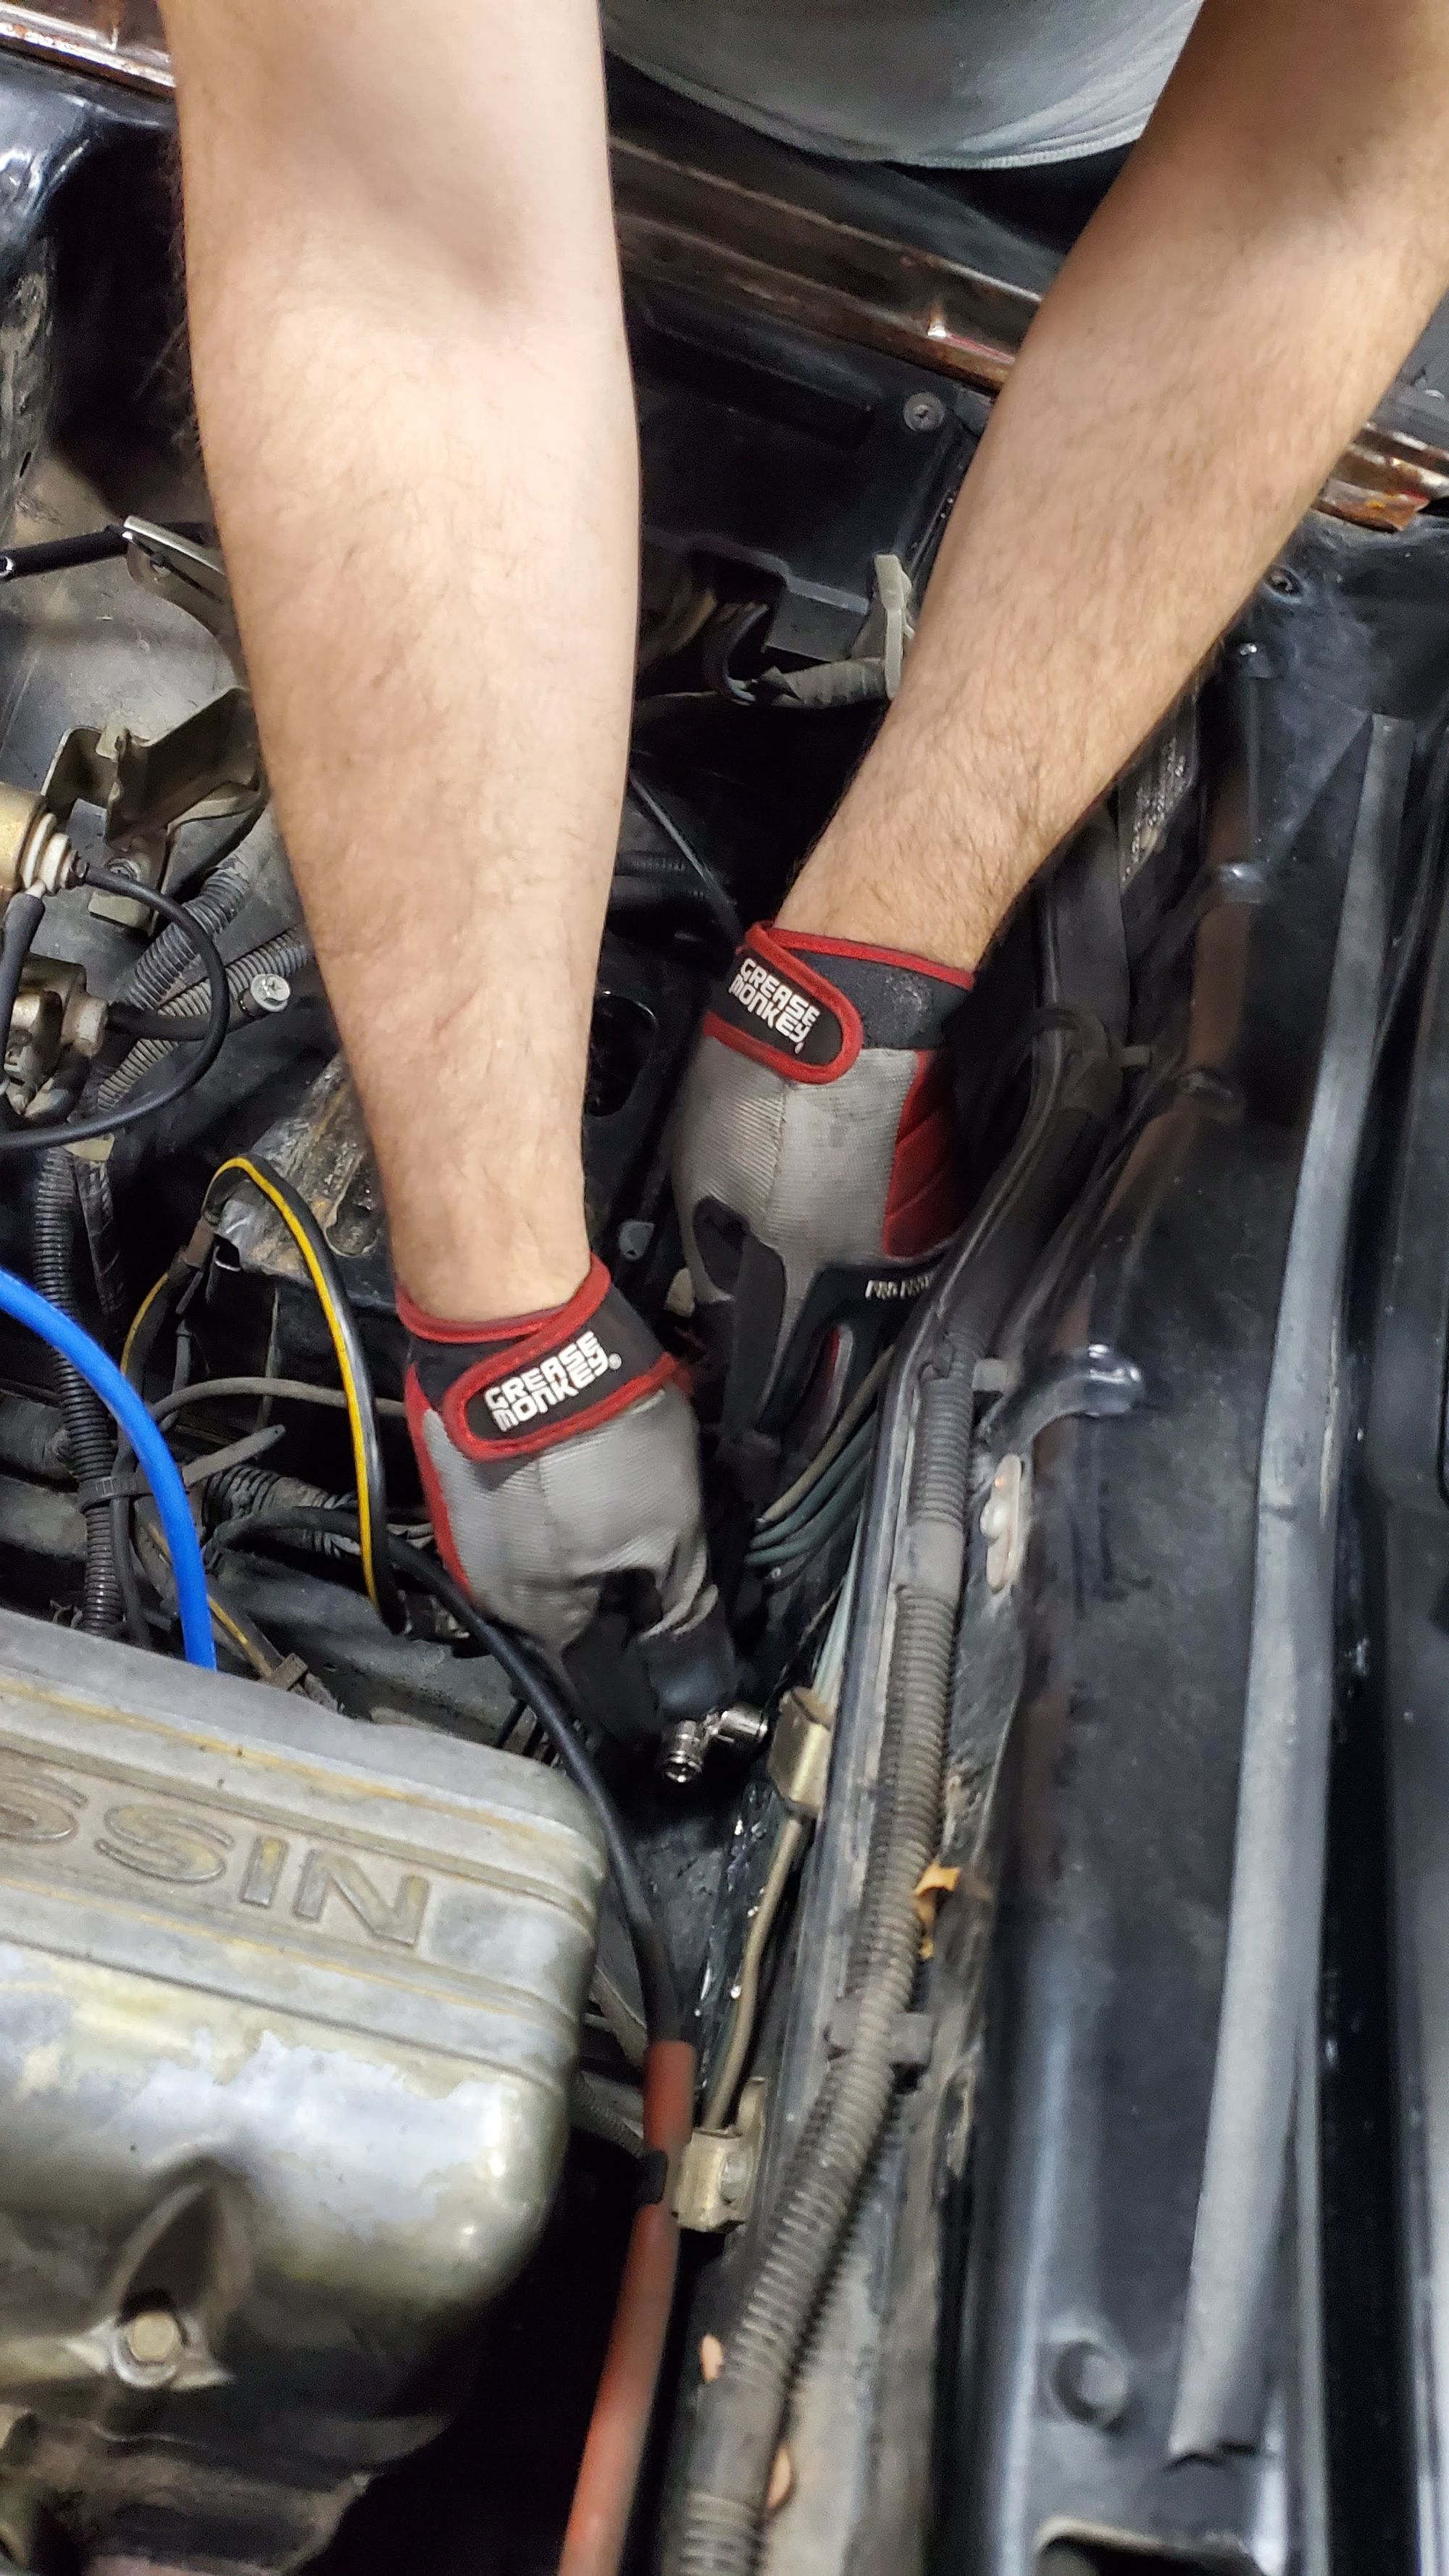
Fire suppression isn't really all that hard. You bolt a bottle to the car. You ziptie some tubing, you point some nozzles. What's hard is figuring out where specifically you're going to mount those hoses and nozzles. How you're going to make that angle without bending the damn hose. Making sure you're cutting the ends clean. Patching your firewall. Reminding yourself that if the car catches on fire, this is all Very Important.
The idea is obvious, but to be very clear: you want to be able to shoot fire retardant on
1) things likely to be on fire
2) things you do not ever want on fire (the driver)
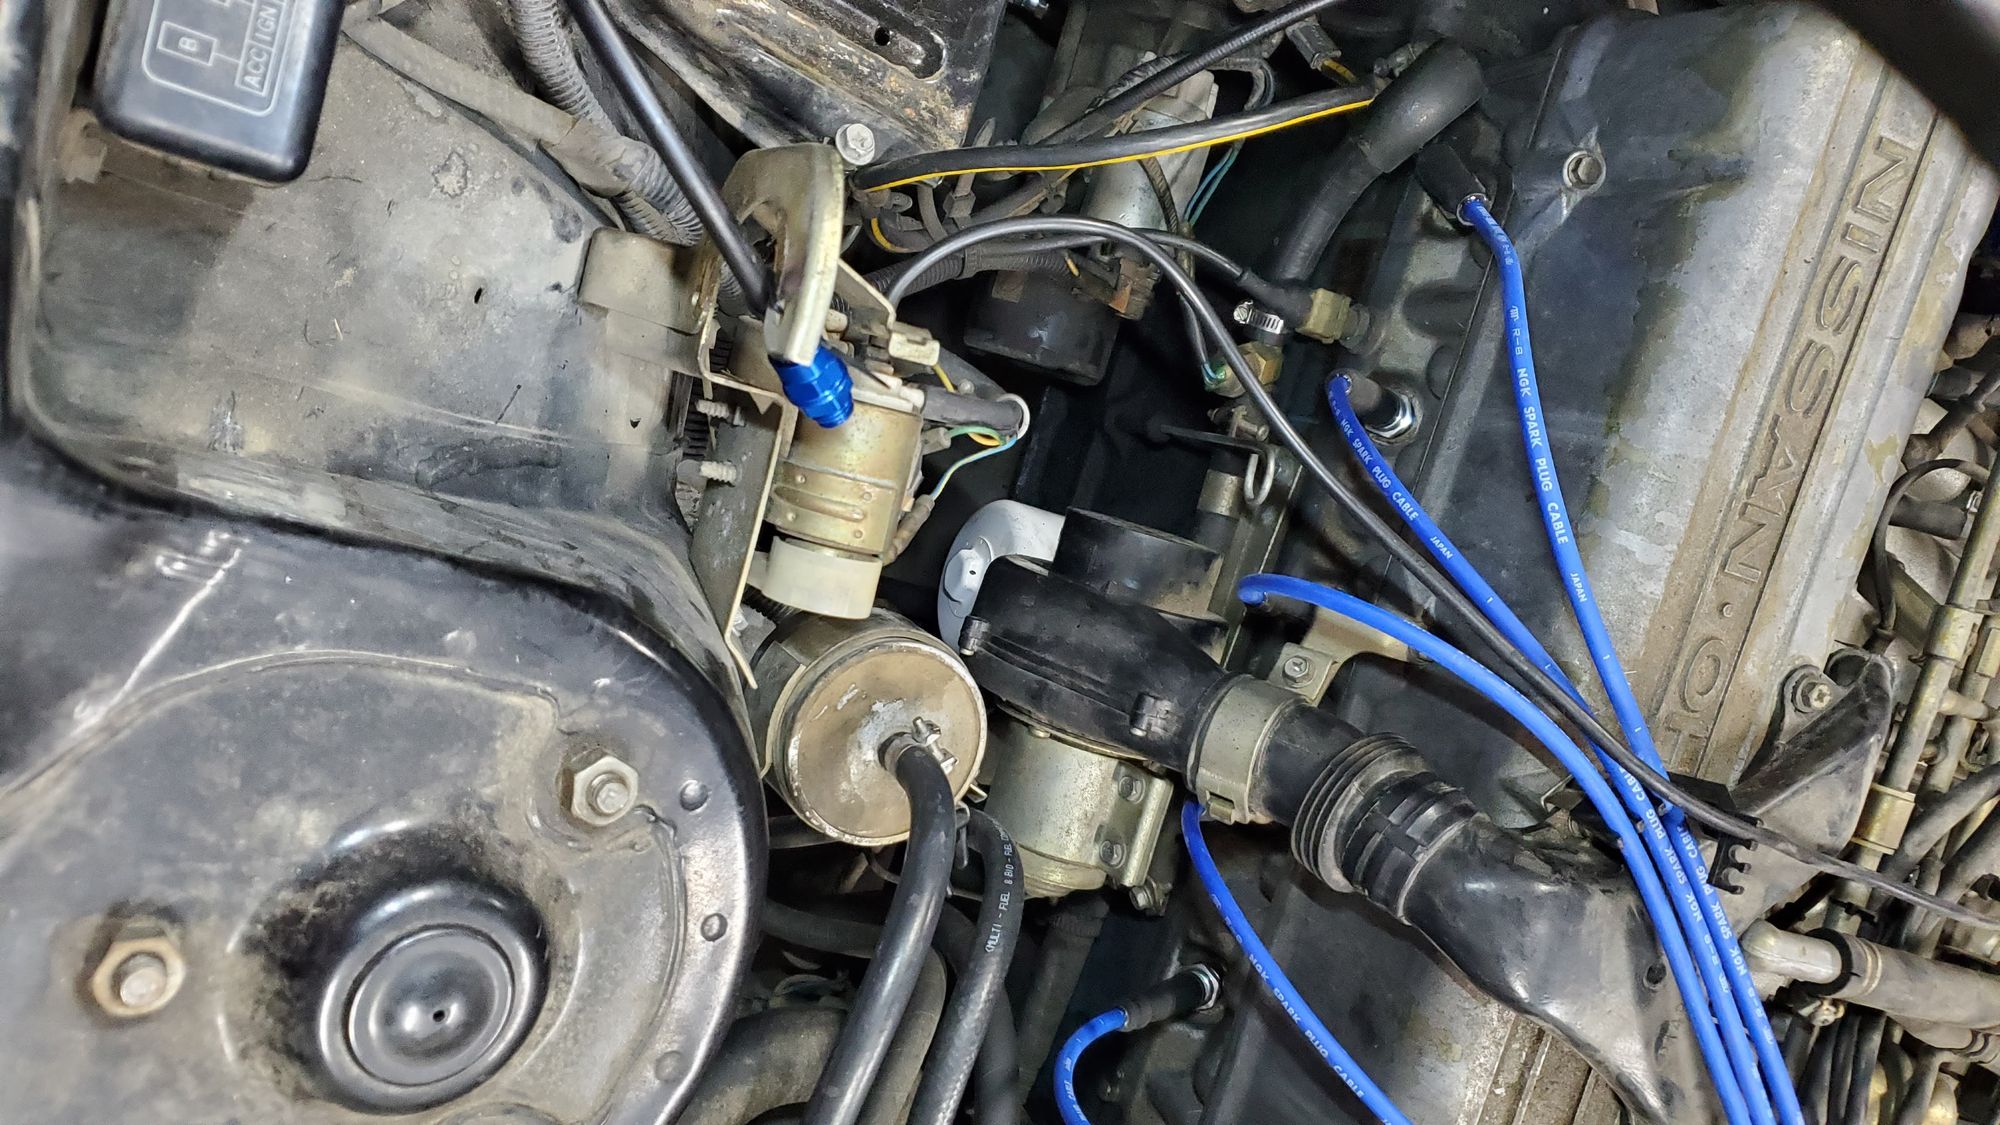
A fire suppression system involves a bottle of compressed fire retardant (that you have to recertify every 2 years and we almost didn't get to race once because we didn't know this!), some tubing, a selection of "T" and passthru connectors, and nozzles. Our kit has 3 nozzles for the engine bay, and 2 for the driver.

We have our 3 nozzles in the engine bay pointing at the fuel rail/injectors, the fuel filter and lines, and the exhaust manifold.
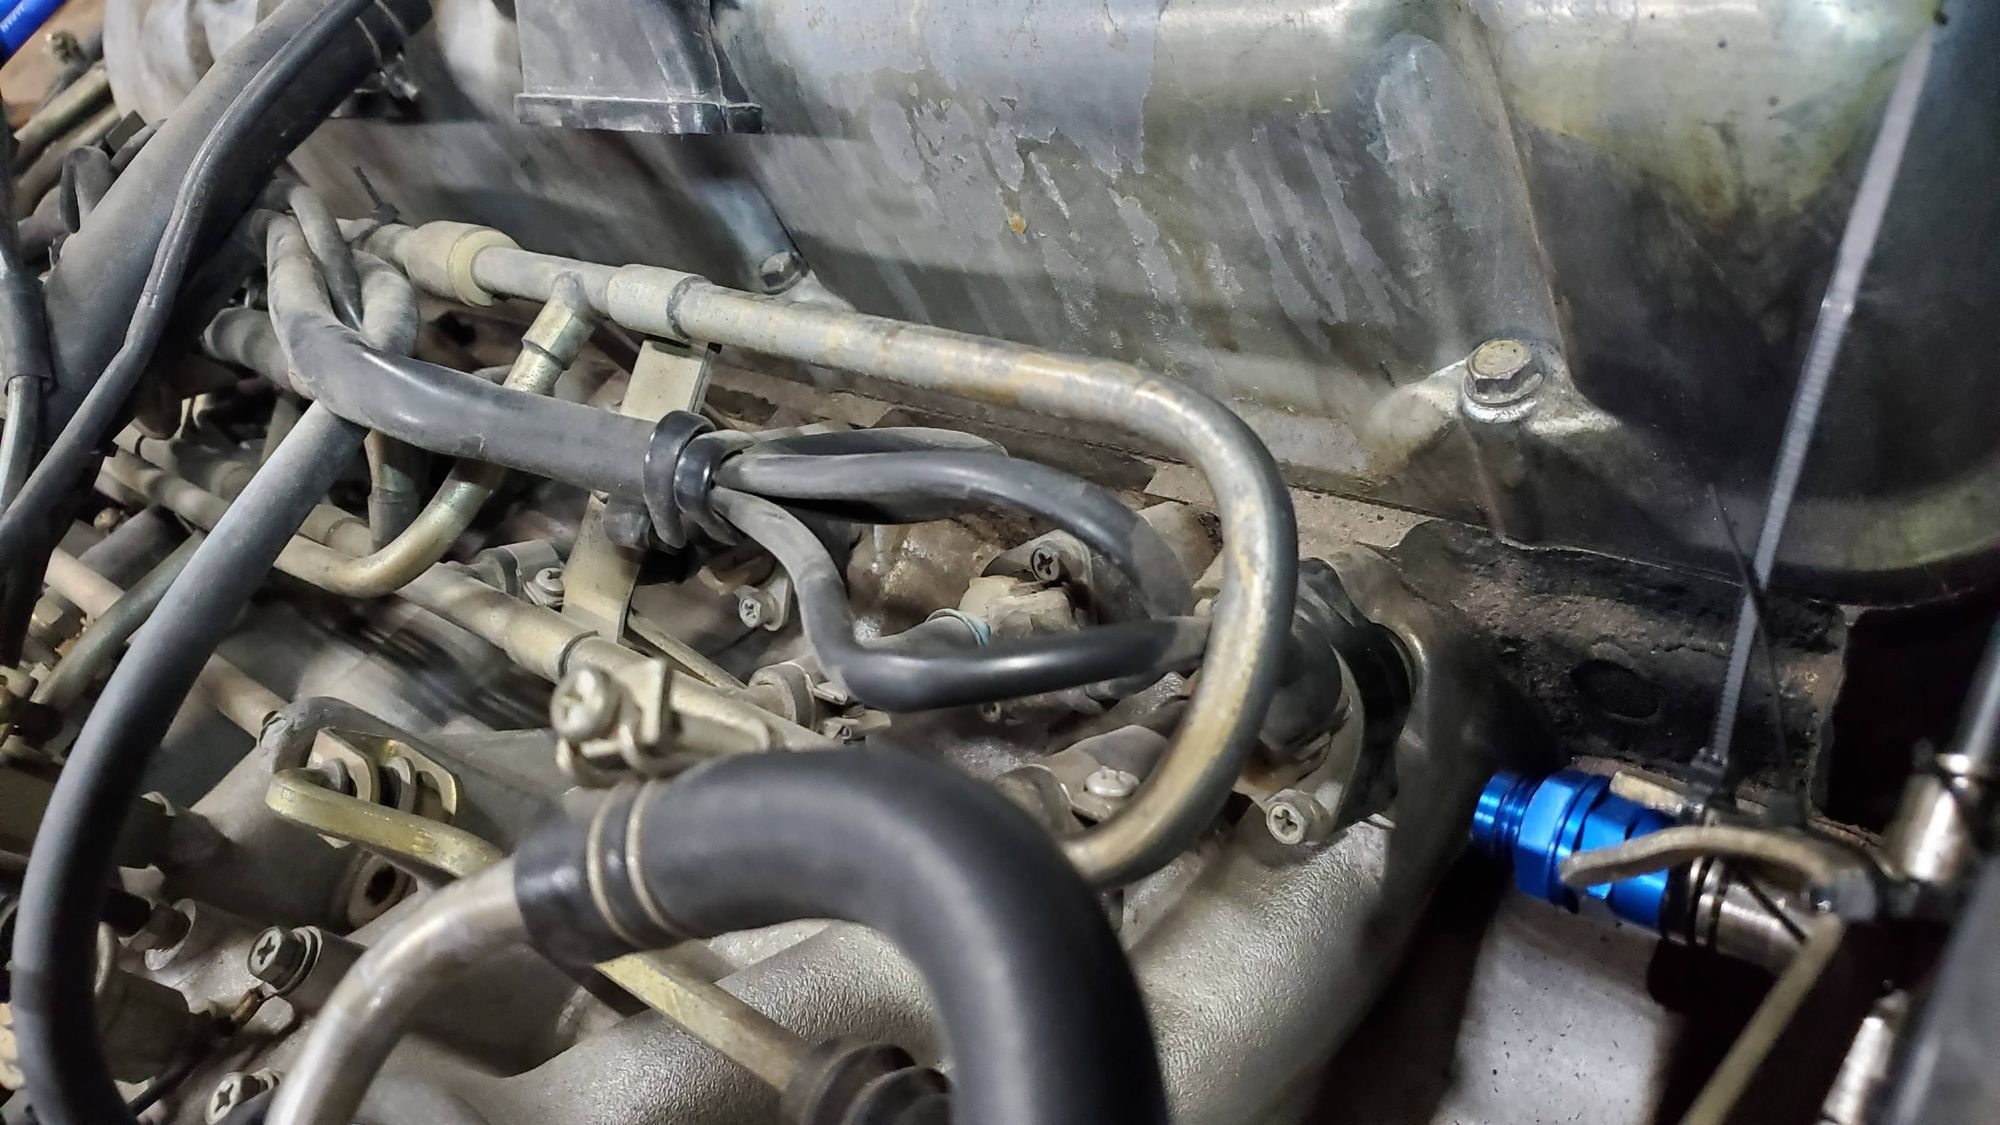
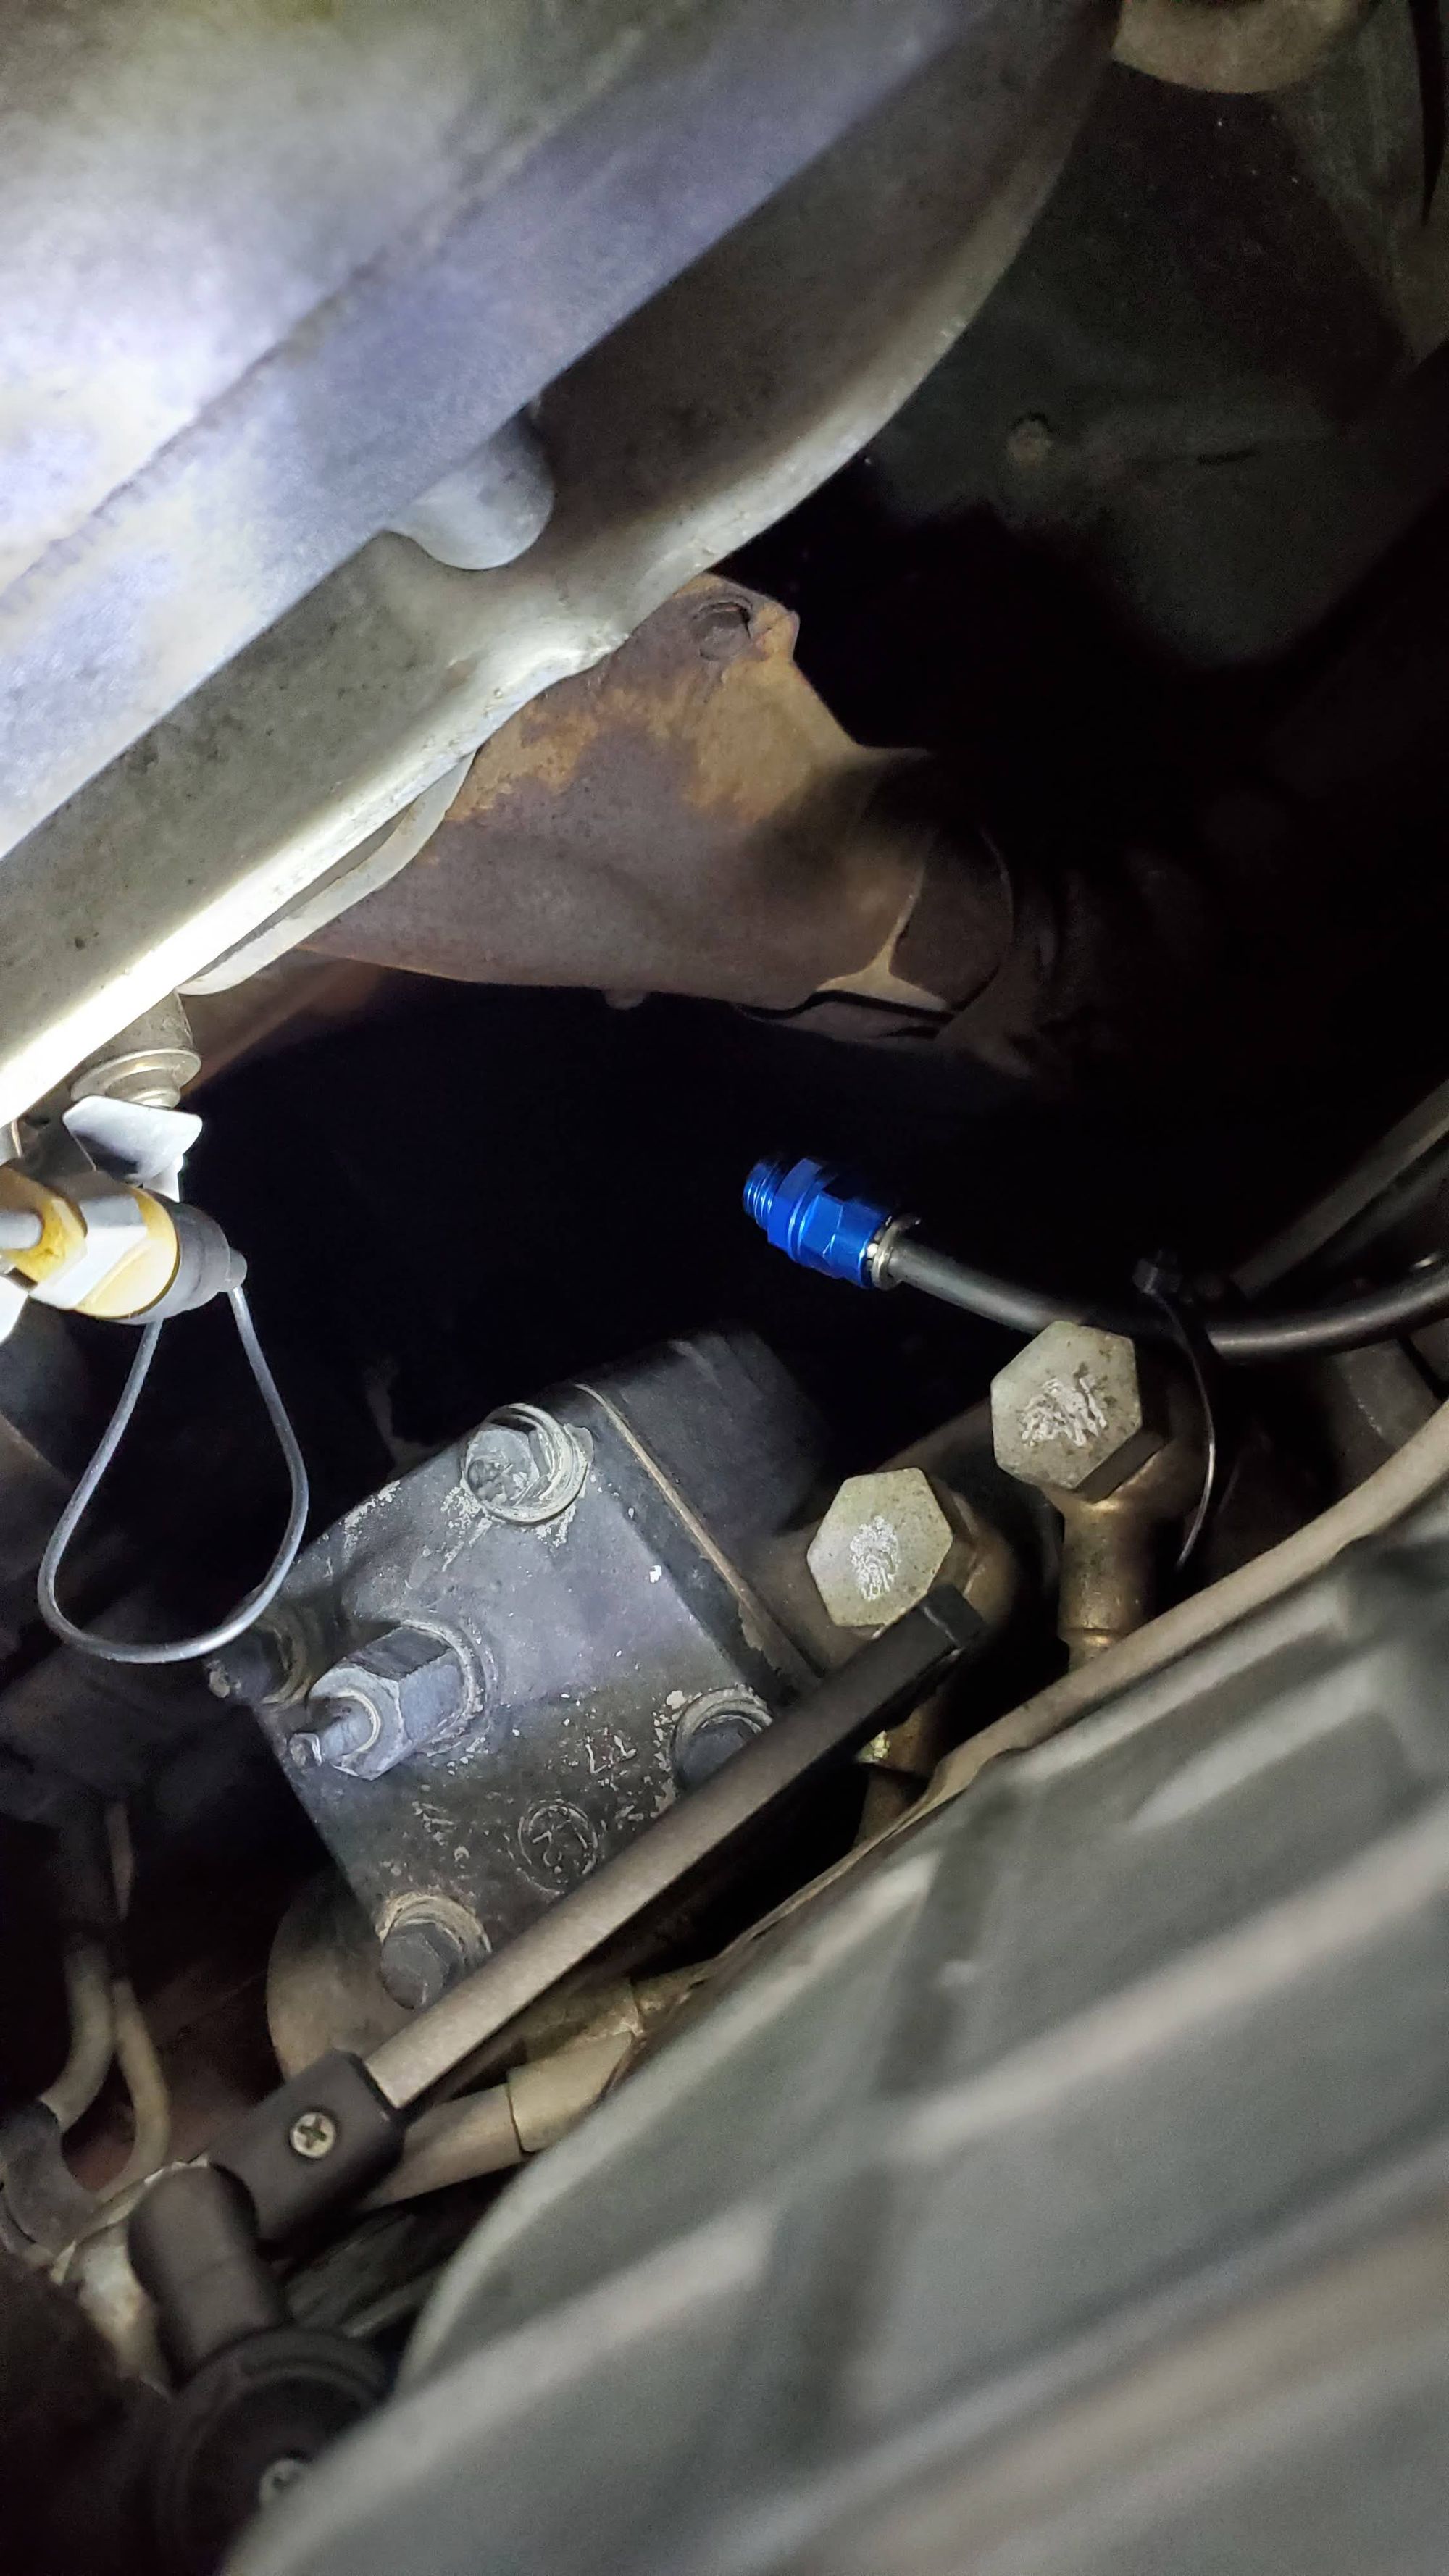
We still have the cabin, and final mounting of the bottle to complete. Like the fender flares above this isn't hard or something that will take long, but it still needs to be done!
-
Relocate Battery (DONE)
The OEM 1981 Datsun 280ZX spare tire was a hideous little goblin tire that I wouldn't trust on a lawnmower. Happily, the spare storage space behind the rear passenger wheel well makes an almost perfect battery relocation area. We solved the "almost" part with hammers, as you do. That had the unfortunate consequence of rattling some rust out and creating a large new speed hole. That needed to be patched, and we installed a bracket to hold the battery box.


From there, we mounted a battery box, and relocated the cables through the firewall. This is a very good time to mention that the patch above, and the cross brace were both welded by our new teammate, Tyler. Huge shout out to Tyler, not only is he a great guy, but he can weld. None of the rest of us apes can weld, and god damn is it a useful skill in racecar making. Thank you Tyler!


Phew. I'm tired just writing about all of this, you can imagine how much work went into all of these steps. I really want to thank Nick who has been putting in all kinds of time in-between our work nights to move all of this forward. Find yourself teammates who care, and you can do great things.
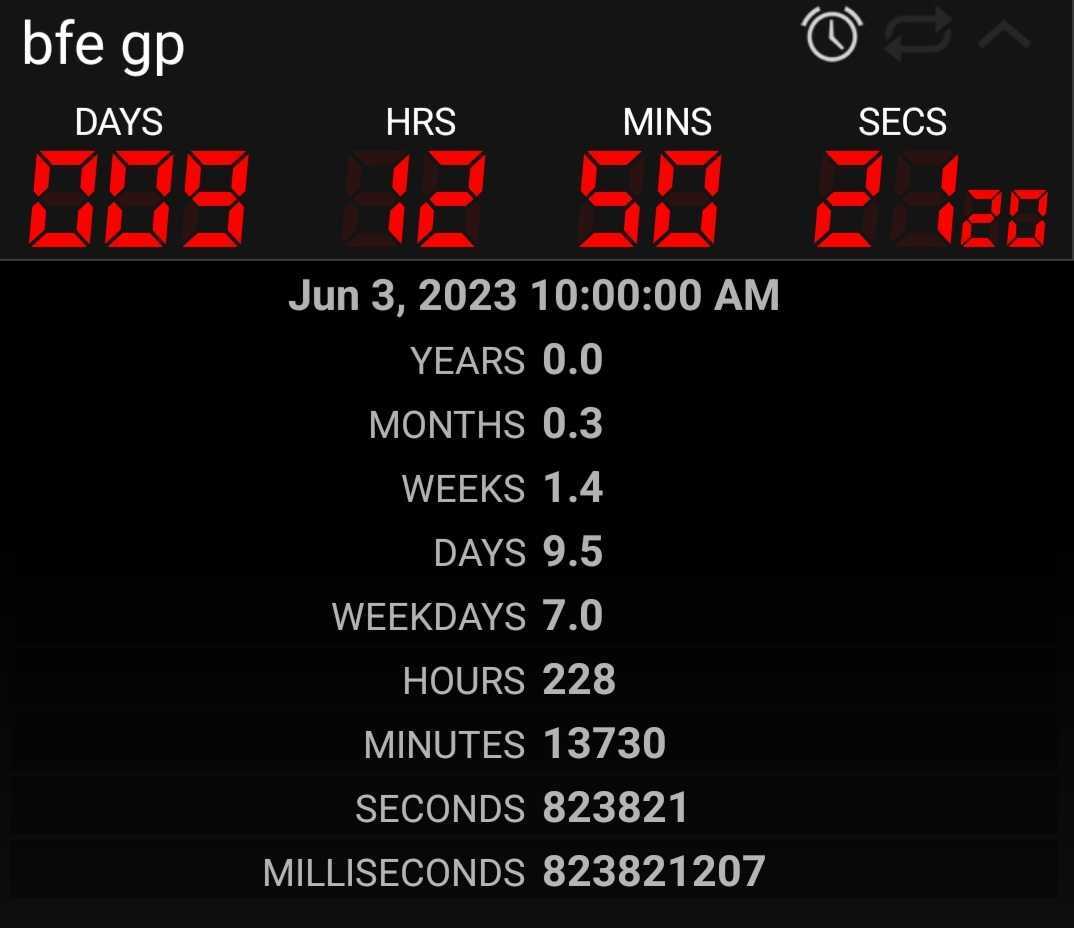
We've come an incredibly long way since April of 2022 when we started this journey. We have 9 days to go before the green flag drops. The list is getting short, but we have miles to go before we sleep.


